This week, I set myself the challenge of creating an iris diaphragm that was simple and easy to make. A paper mechanical iris that required no additional materials, or construction techniques, accessible to all. Could it be done? Building on the lessons learned from making the cardboard mechanical iris, I put the Iris Calculator to work once again, and designed an iris that comes incredibly close...
Print the template
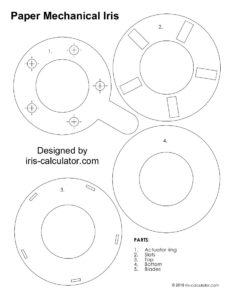
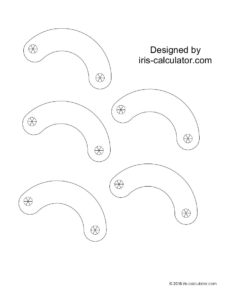
Here's the Paper Mechanical Iris template I put together, which you can download. I printed on standard printer paper, but I'd recommend something thicker - such as card - as it's a little flimsy.
Cut out the parts
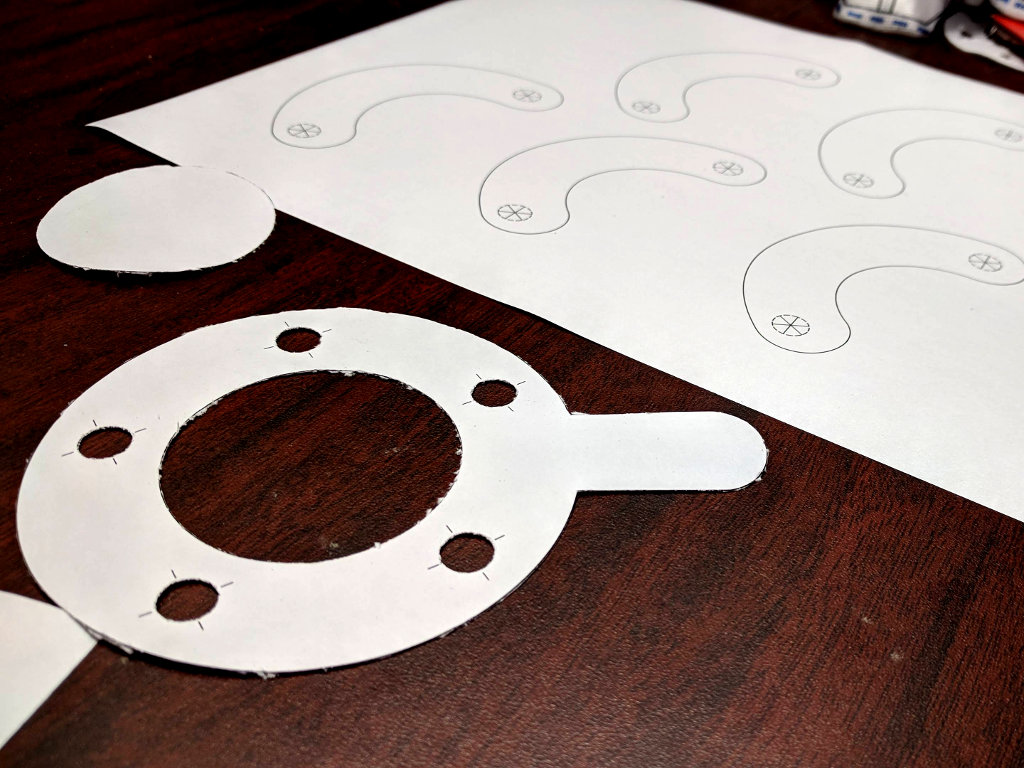
Cut out all the parts you printed. Solid lines dictate where to cut, and dotted lines are for folding.
The blades
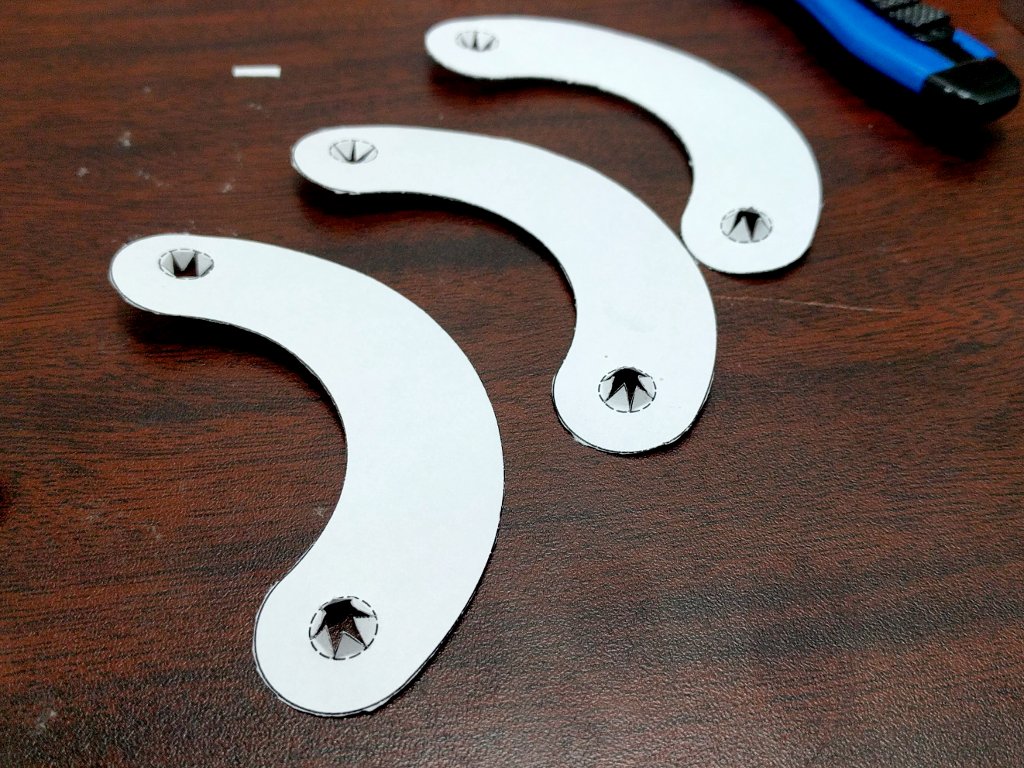
Cut the 3 pin hole lines in the blades exactly. It's important to get them right - if you screw up by cutting them too far beyond the hole, chuck it, and start again with a new blade.
Use a pencil to poke the holes so the triangular leaflets can bend back on themselves around the edge. Make sure they bend in the directions shown in the image (the central hole bends towards you, and the offset hole bends away from you).
Start to assemble
Insert the 'central hole' of the blades into the actuator ring holes one blade at a time, flattening out the leaflets into a circular pattern.
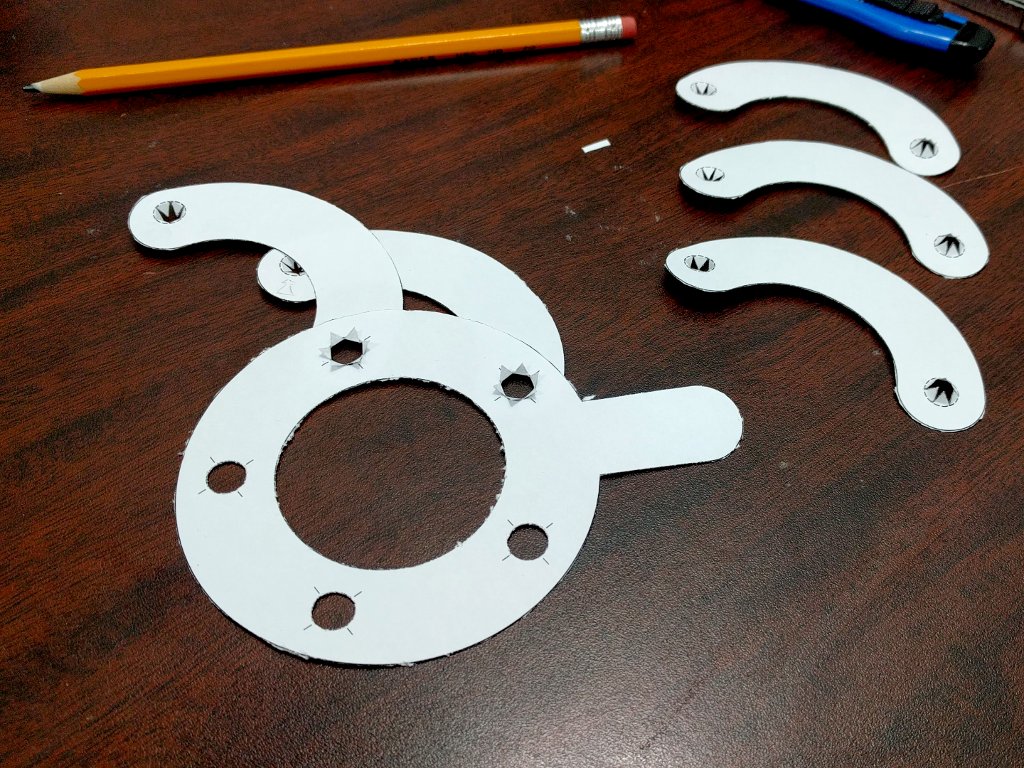
Stack
Stack the blades, around the actuator ring.
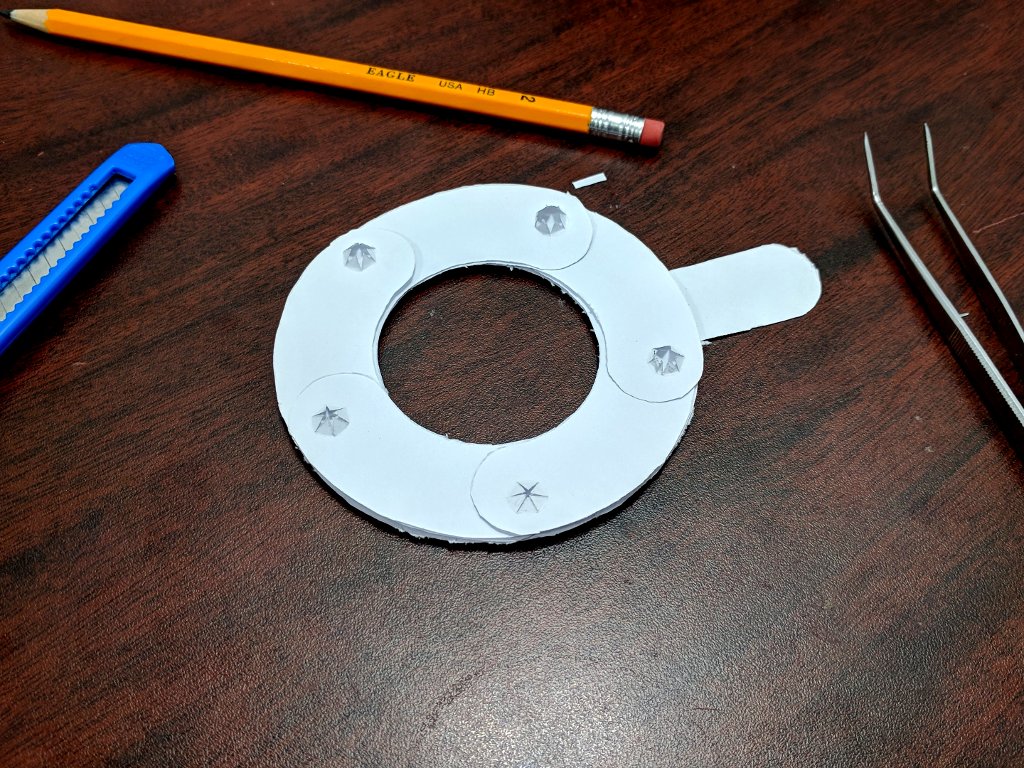
Slots
Next, turn the sub-assembly over, and do the same with the slots on the body.
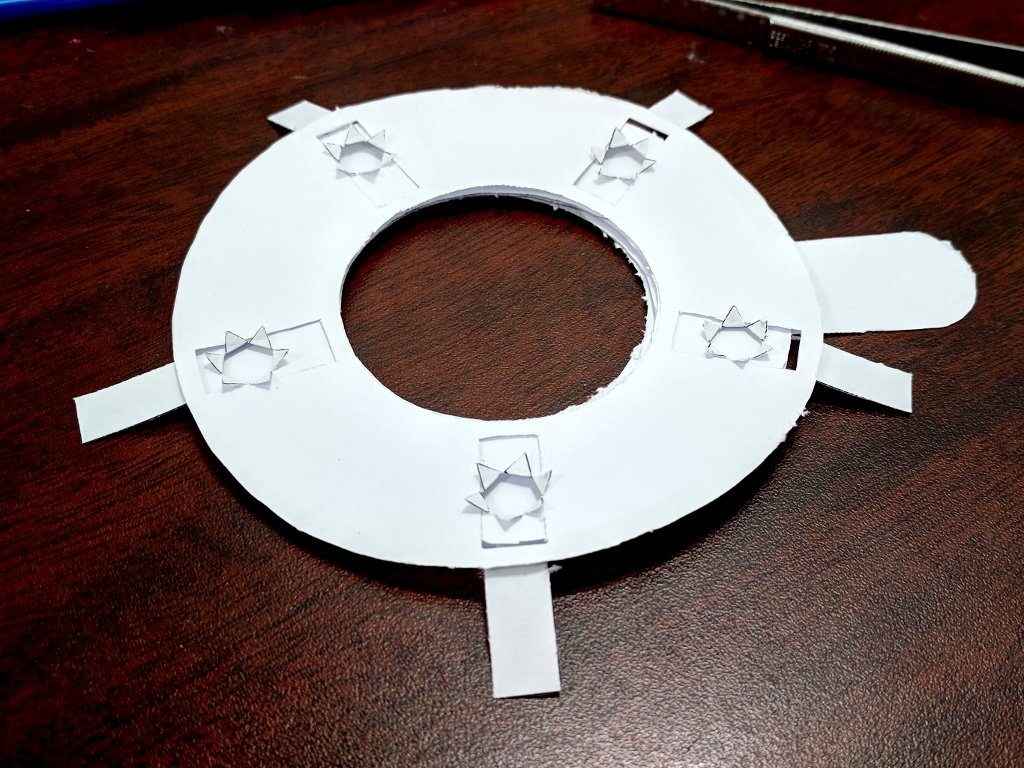
Assembly continued
Assemble by turning the iris over, inserting the 5 tabs through and folding over the body to tape it together. You only need to tape 4 of them. Cut off the one the handle will pass through.
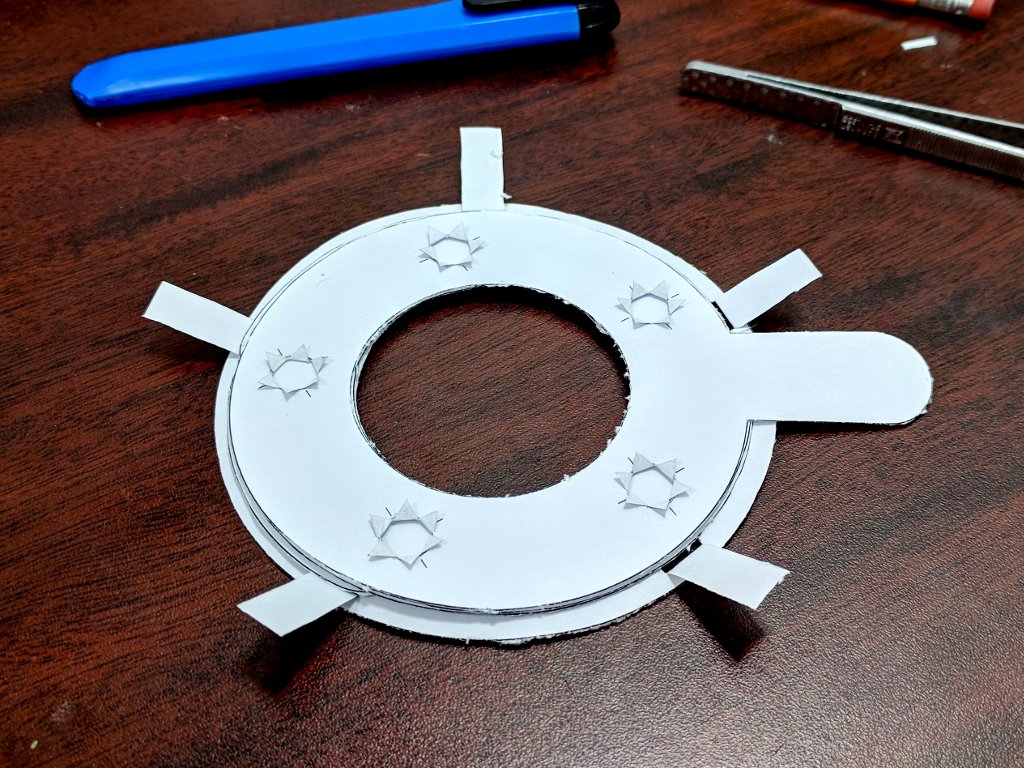
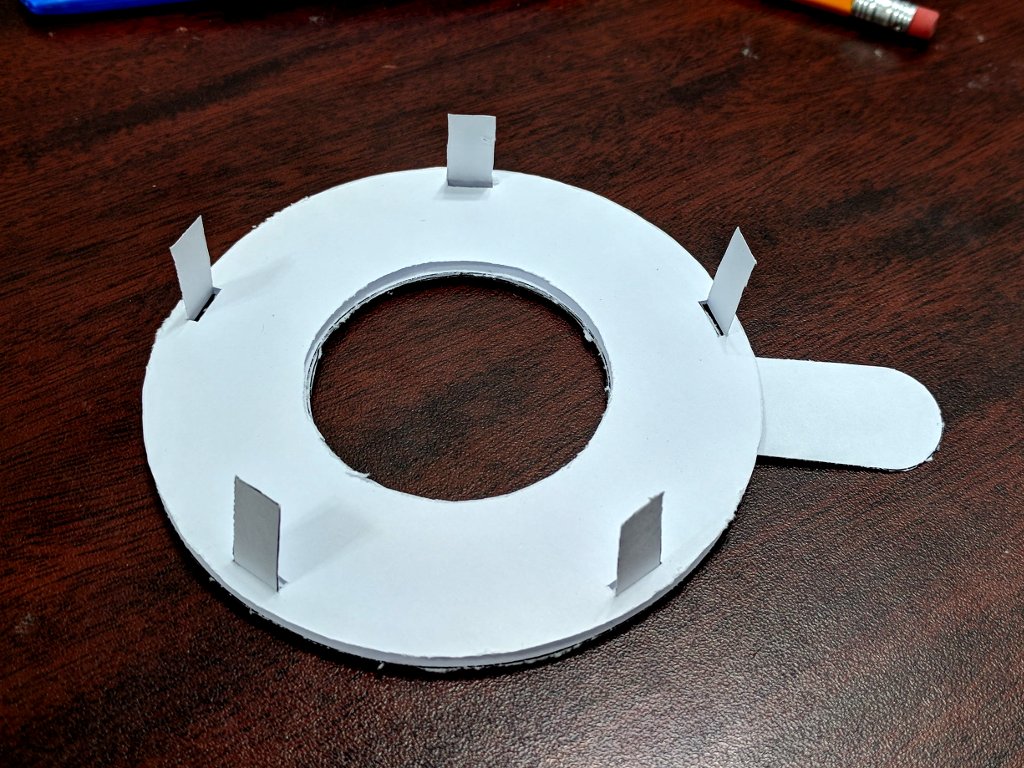
Glue the bottom on
Carefully operate the iris to make sure there are no issues at this stage.
Apply glue between all the slots, making sure not to get any on the blades or slots themselves. Stick the bottom on and push it down to ensure it's flat (use a big heavy book).
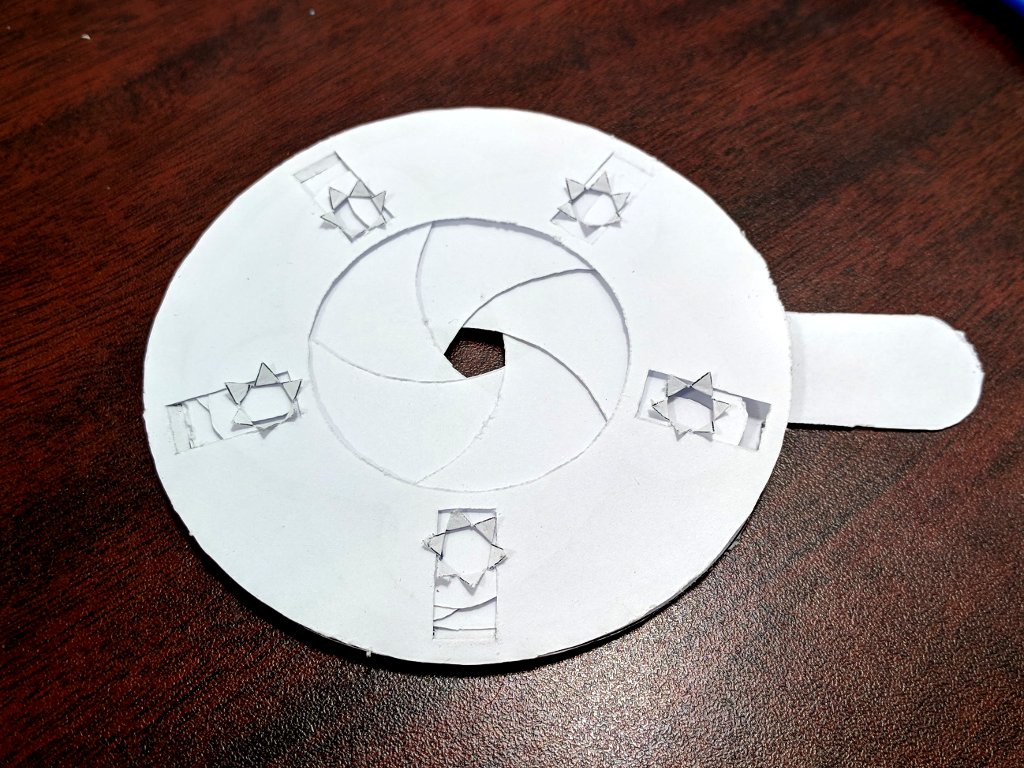
Done!
And there we have it. A simple, easy to make, paper mechanical iris!
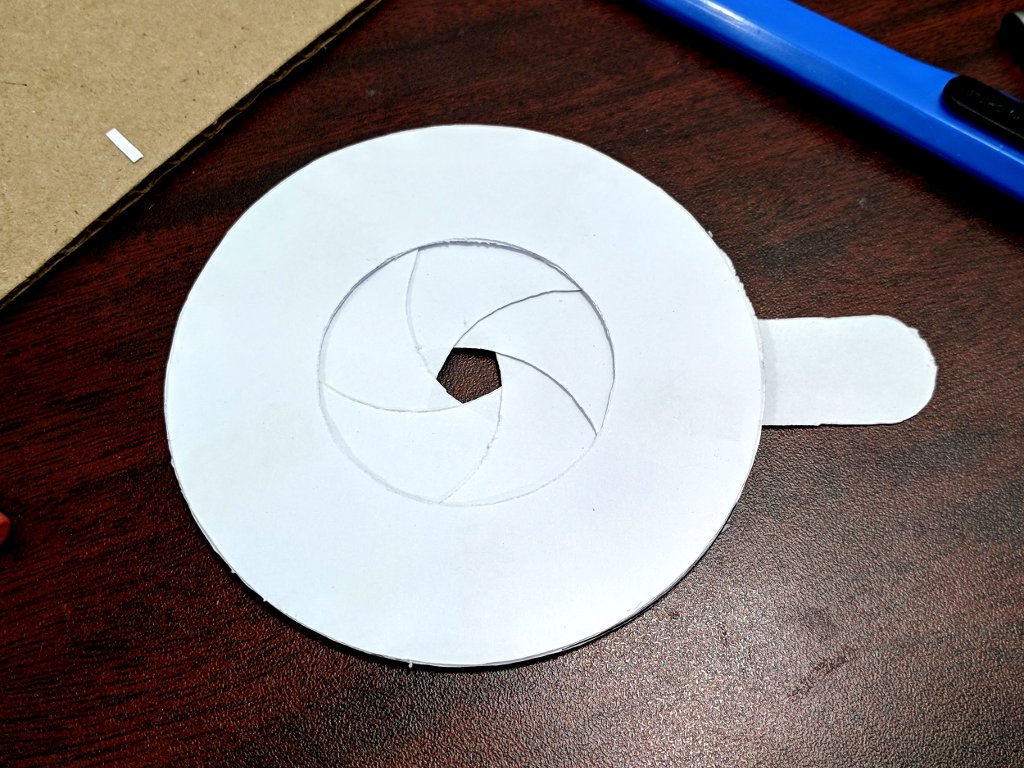
If you'd like to have a go at making your own iris design, please do sign up to our design software. You'll be able to customise the size and many other design parameters. And once you're done, you can export and print the templates as a guide.
[…] #areyoubookenough_machine. I have been looking forward to this one. I downloaded a file from iris-calculator.com and printed it out on several pages of coloured card […]