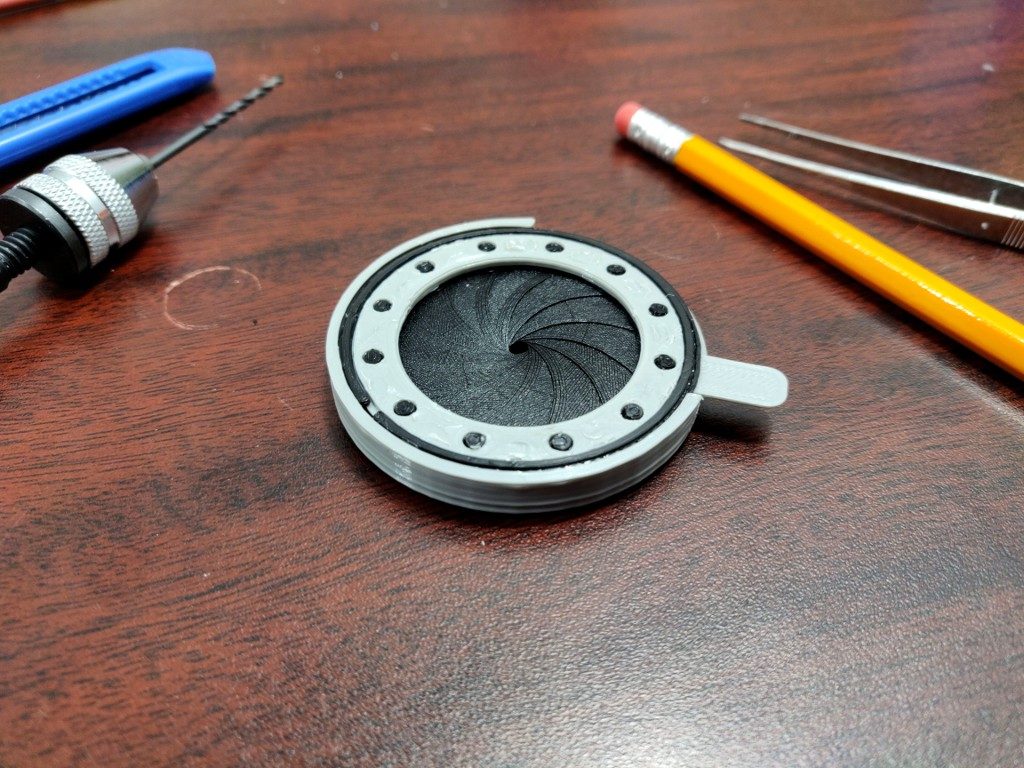
Once you’ve designed and downloaded your mechanical iris as a DXF, what happens next?
In the video I import the housing dxf file, then proceed to extrude the slots, base, and outer wall. I then create a groove on the inside of the outer wall, for a retaining clip to sit in (which will hold the actuator ring in place). Next I cut a slot for the handle – remembering to make allowances for the width of this handle. Then, finally, I chamfer the edges of the slots (to aid insertion), the edges of the max aperture (to help prevent the blades snagging when the aperture is operated), and the retaining clip groove (again to aid insertion).

If you’d like to have a go at making your own iris design, please do sign up to our design software. You’ll be able to customise the size and many other design parameters. And once you’re done, you can export and print the templates as a guide.