This is a guide on how we currently cut the slot for the irises handle in our steampunk goggles. If you've bought the Steampunk iris from our store, you may find it useful to follow, or modify, these instructions to cut the slot in your own goggles. For those of you that have a 3D printer, we've included a template for you to download and 3D print to help aid the process.
1.
Remove the screw cap and lenses from the goggles.
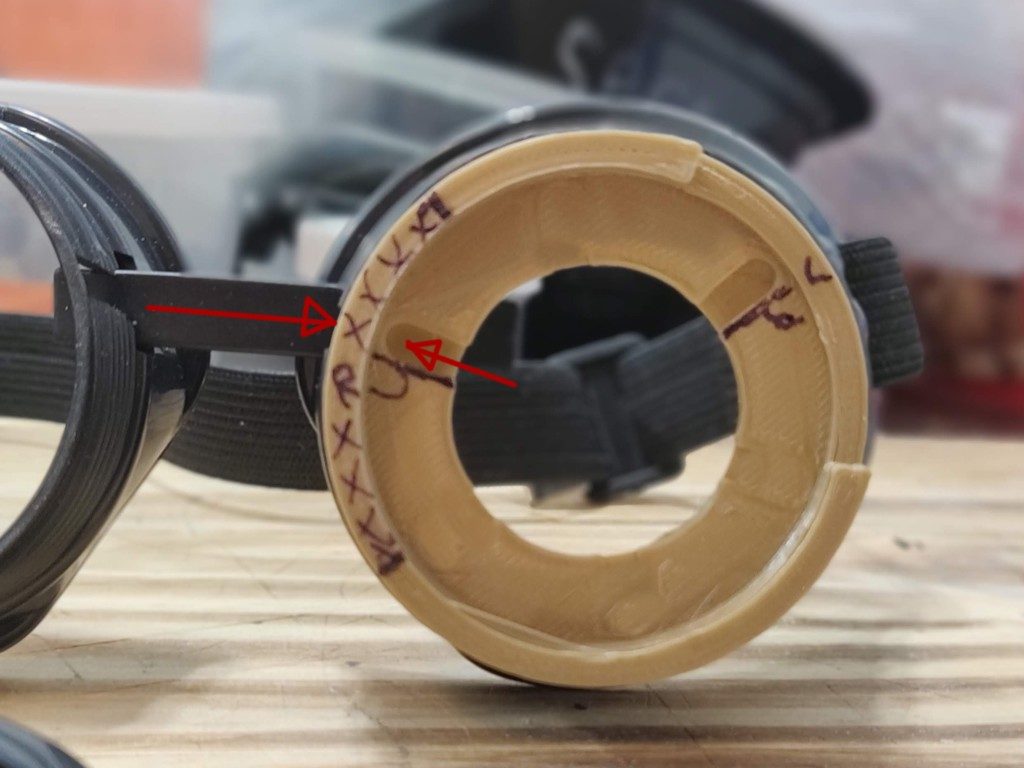
Push-fit the template into the eye hole, and line up the nose band with the slot.
2.
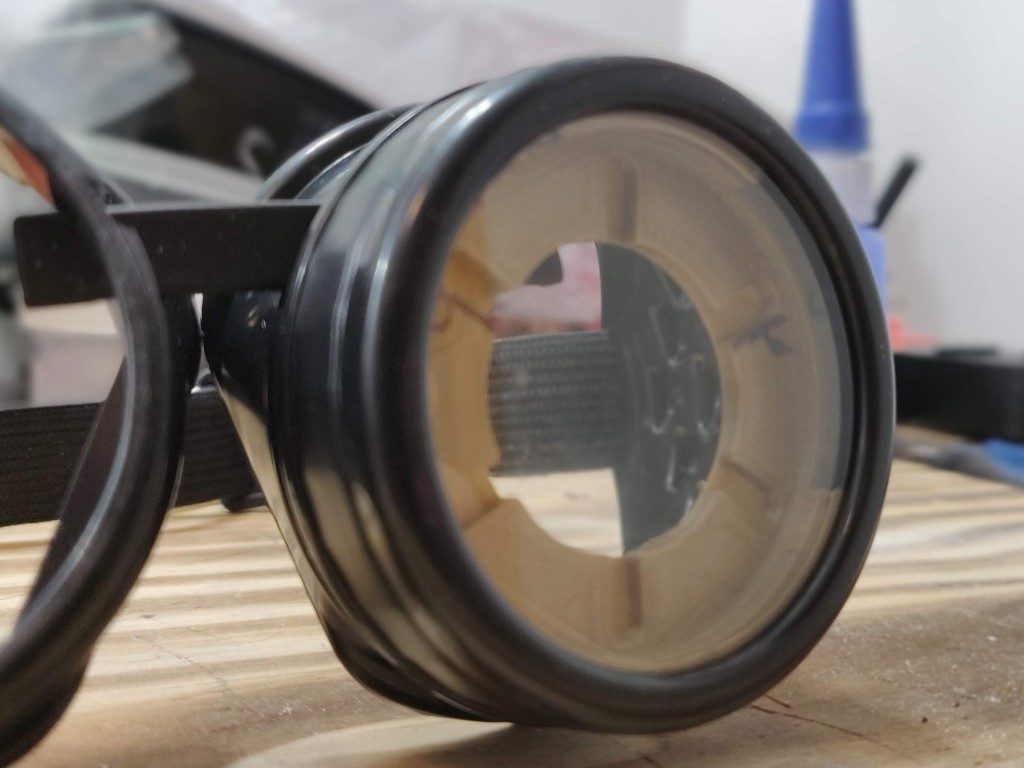
Screw the cap and clear lens back on reasonably tightly, making sure the template doesn’t move in the process.
Note: This step sets the height and position of the slot on the screw cap. So if you don’t plan on using a lens, screw the cap on without it.
3.
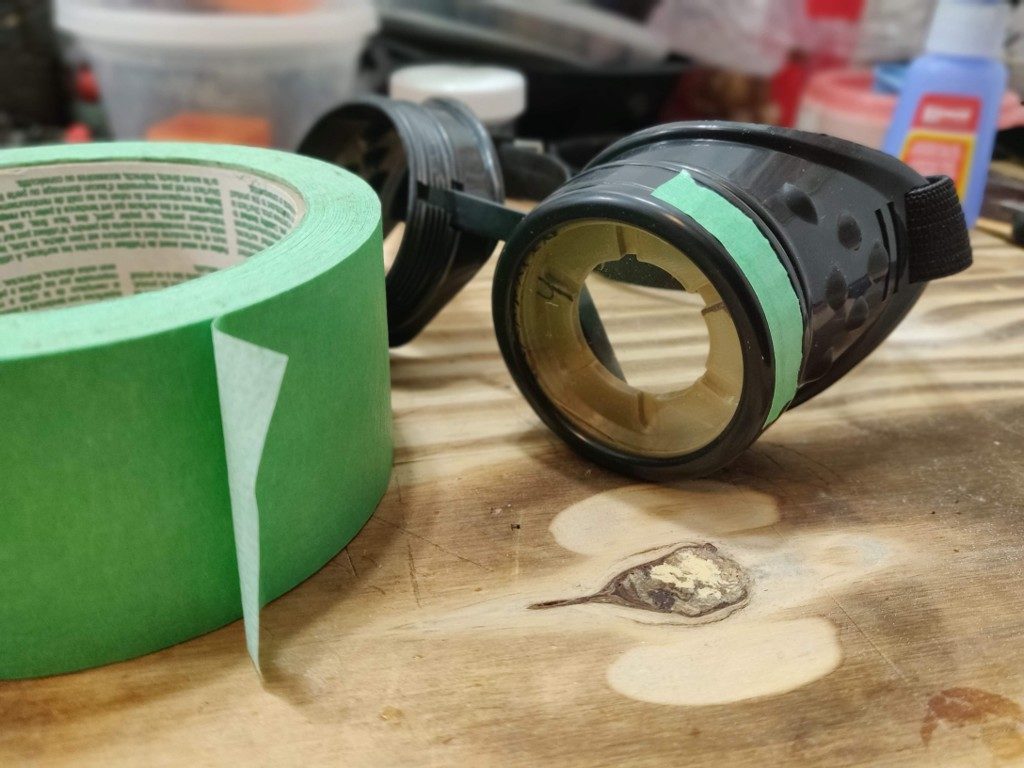
Apply a strip of painters tape around the edge where the slot will be cut.
4.
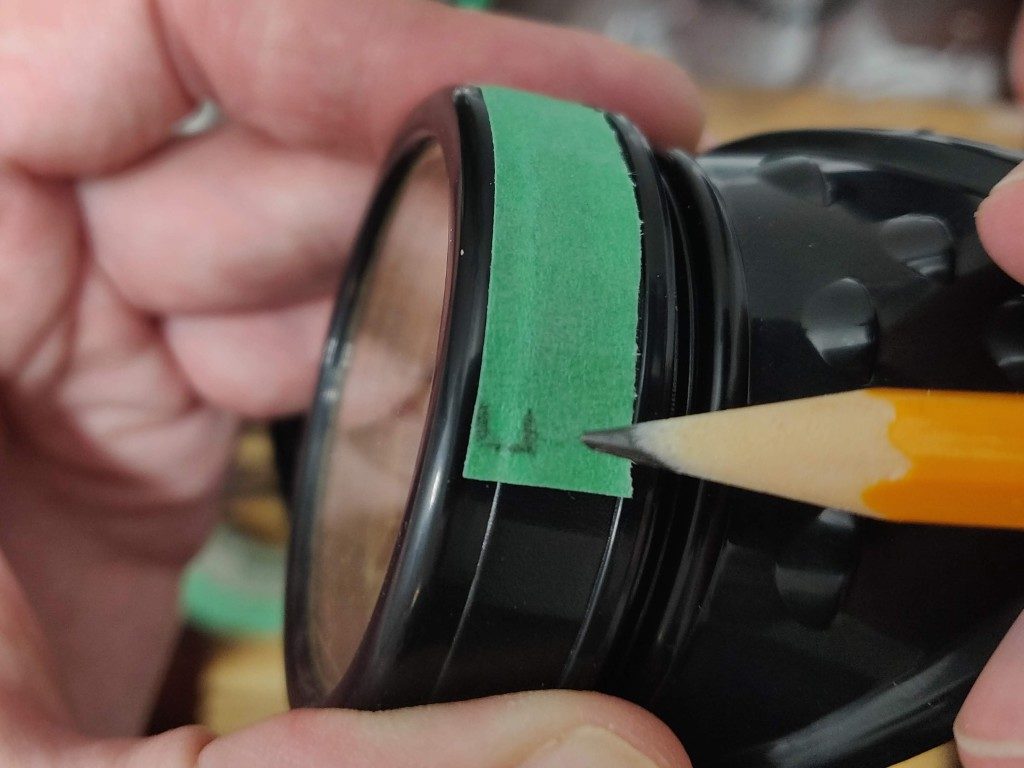
Carefully draw where the template’s slot is on the tape.
5.
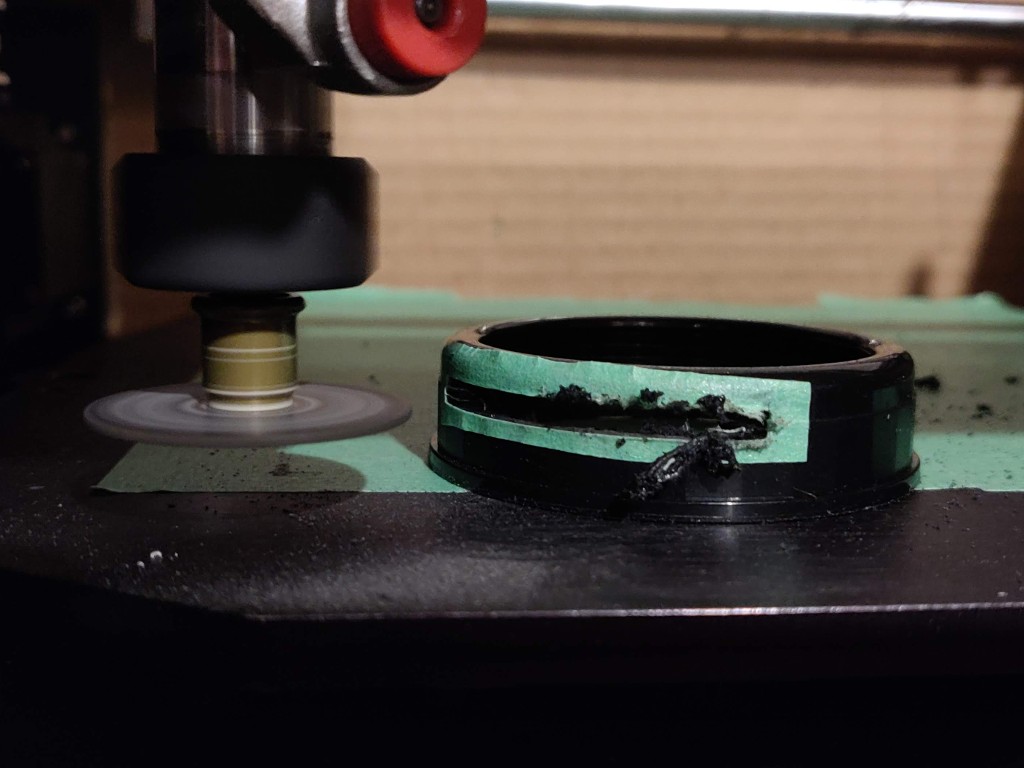
Mill or Dremel the slot to size (3 mm wide).
Here we’re using a Dremel cutter in a mill, and make 3 passes incrementing by 1 mm each time.
Note: The cap is made from ABS, so do this in a well ventilated area. Wear protective glasses, and ideally wear a mask.
6.
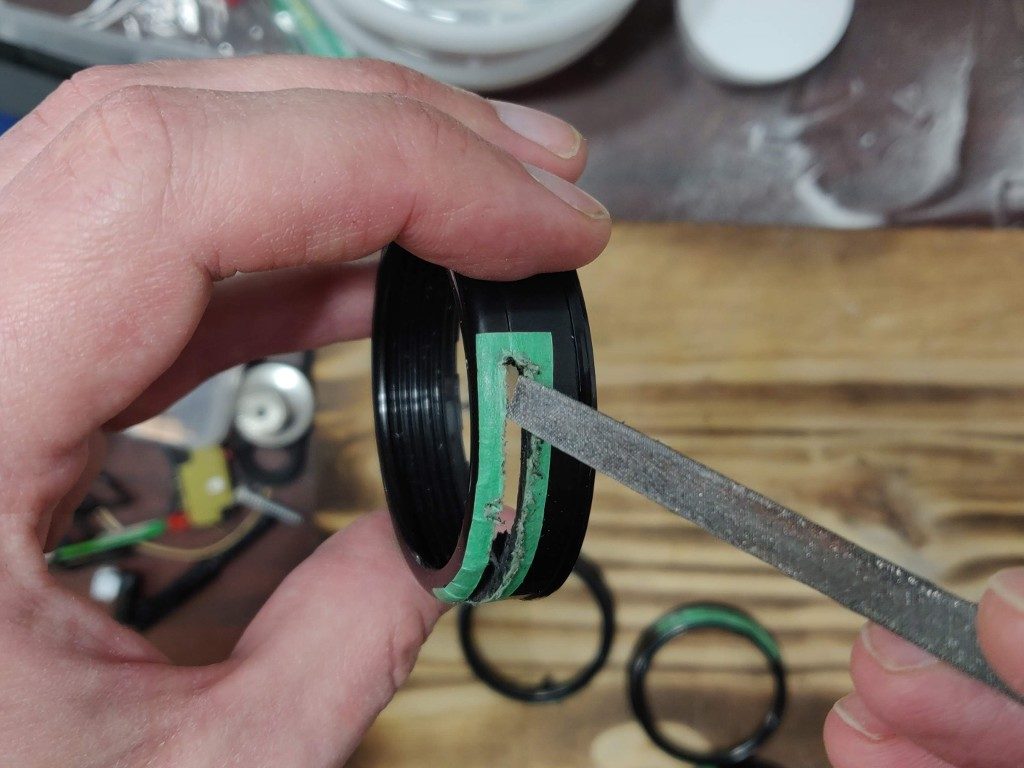
File and smooth any burs or sharp edges. You may also need to carefully clean up the thread on the inside.
7.
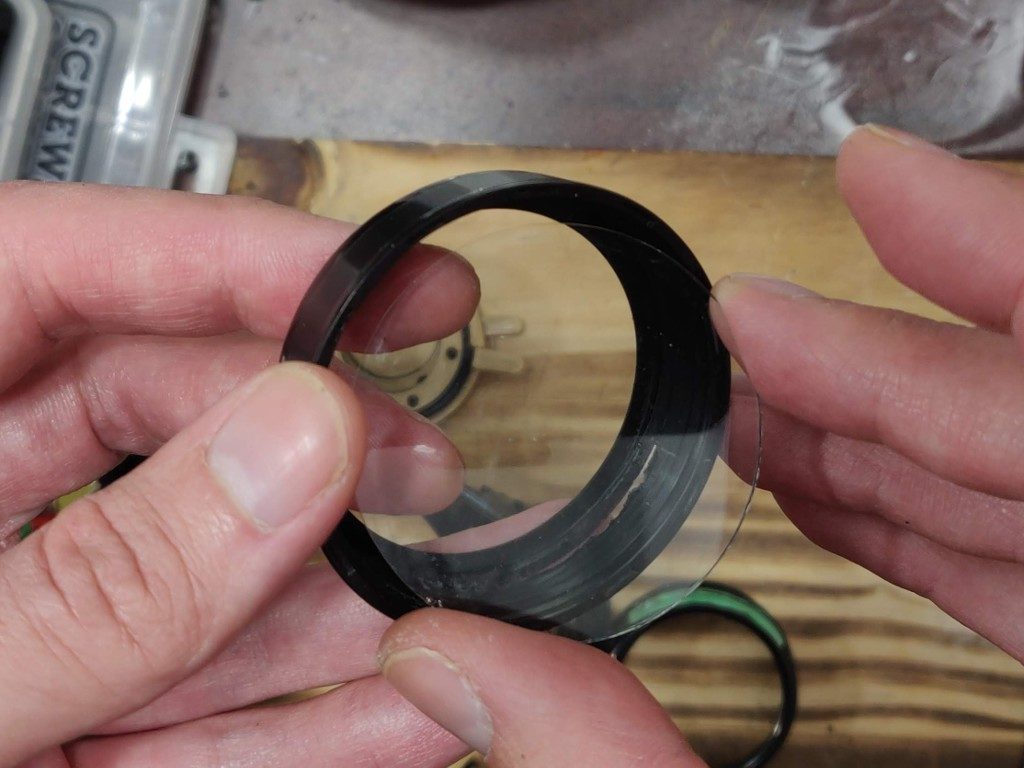
If you’re using the clear lens, insert it into the cap now.
8.
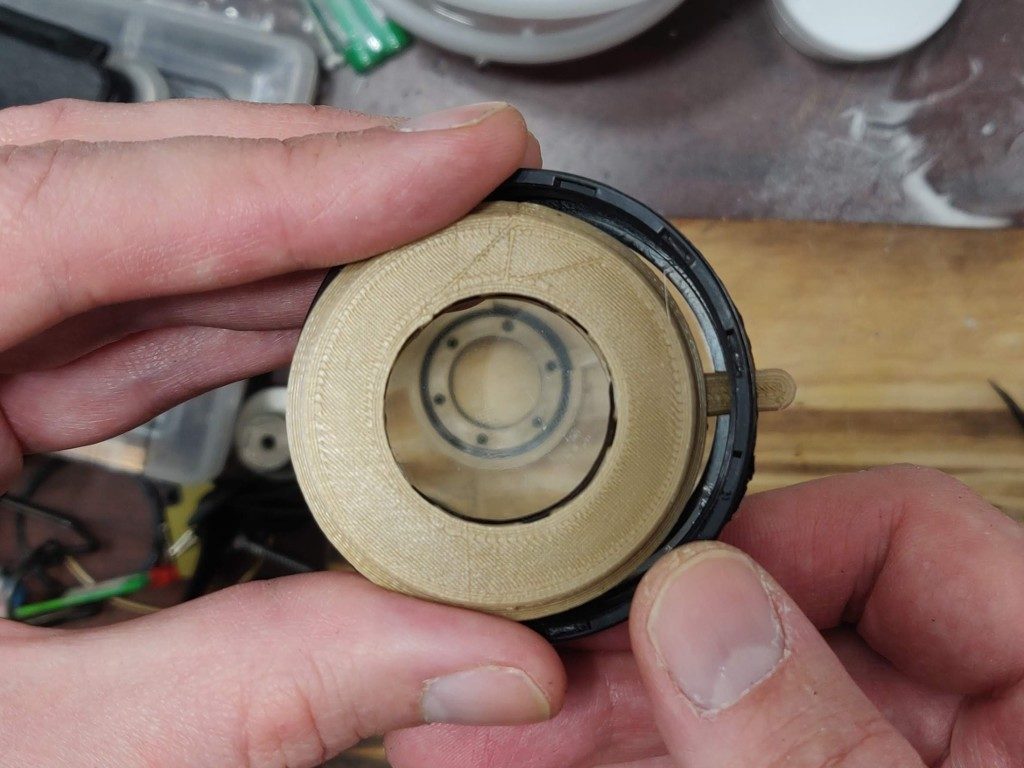
Insert the iris handle through the slot, and seat the iris in place. The handle should be free to move. If it’s not, you may need to cut or file the slot a little more.
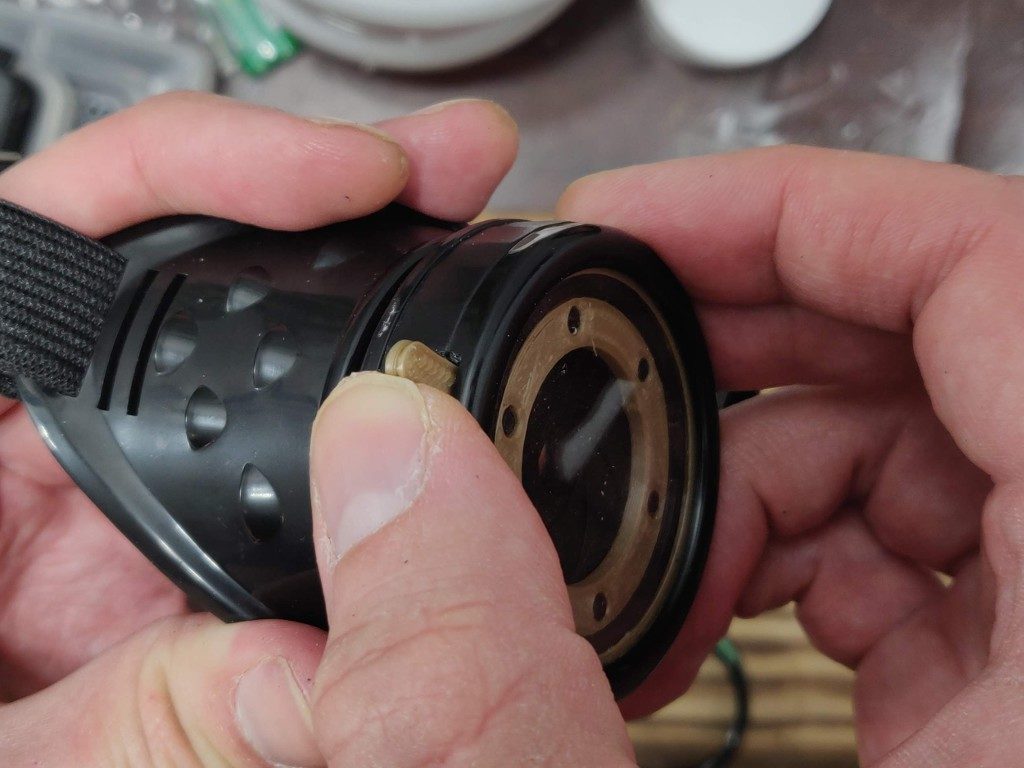
9.
Screw everything back together carefully, making sure not to cross-thread the cap as you screw it on.
The handle will snap if you apply too much pressure! But you can VERY carefully use it to help give more leverage to get everything tightly screwed up and in position.
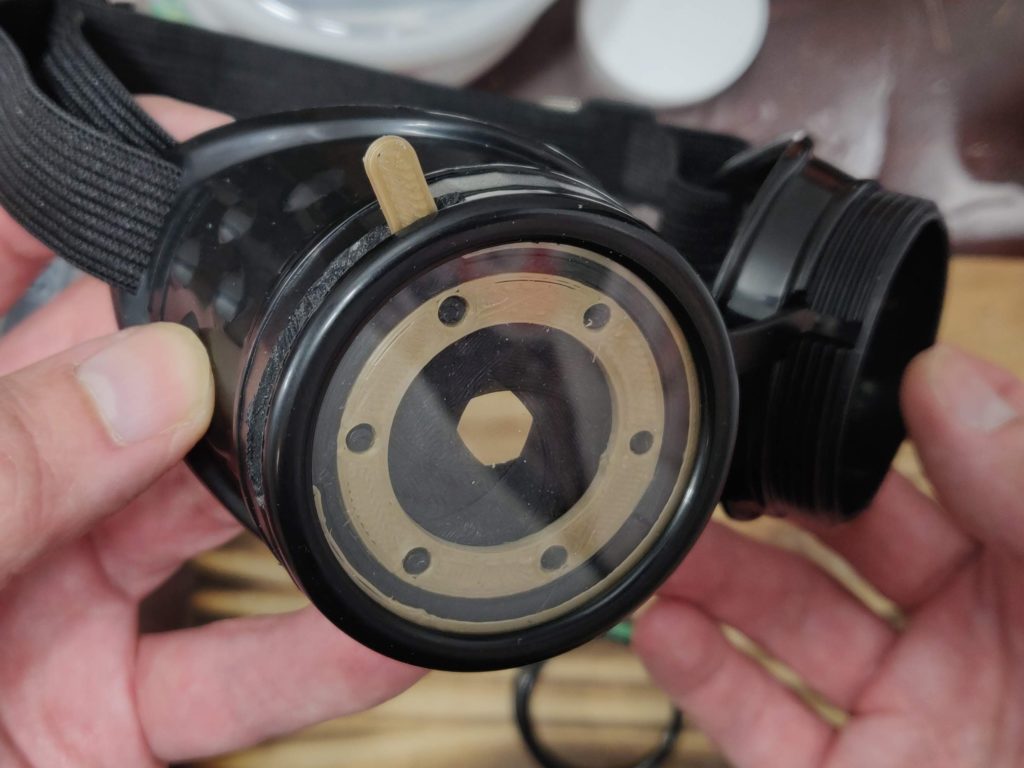
10.
Check the iris operates through it’s full aperture range.
And you’re done!
Video
Here’s a sped-up video of the whole process:
00:00 Unpacking and disassembling the goggles.
00:20 Installing cutting template for the left eye.
01:06 Installing cutting template for the right eye.
02:07 Setting up BoXZY for milling.
04:49 Making the first cut.
05:53 Cutting the second screw-cap.
06:45 Post processing the the screw-cap.
08:26 Installing the left iris.
08:59 Installing the right iris.
09:28 Done!
Alternatives
Of course you don’t have to cut a slot if you don’t want to. The iris fits in the eye hole without the lens and lens-cap.
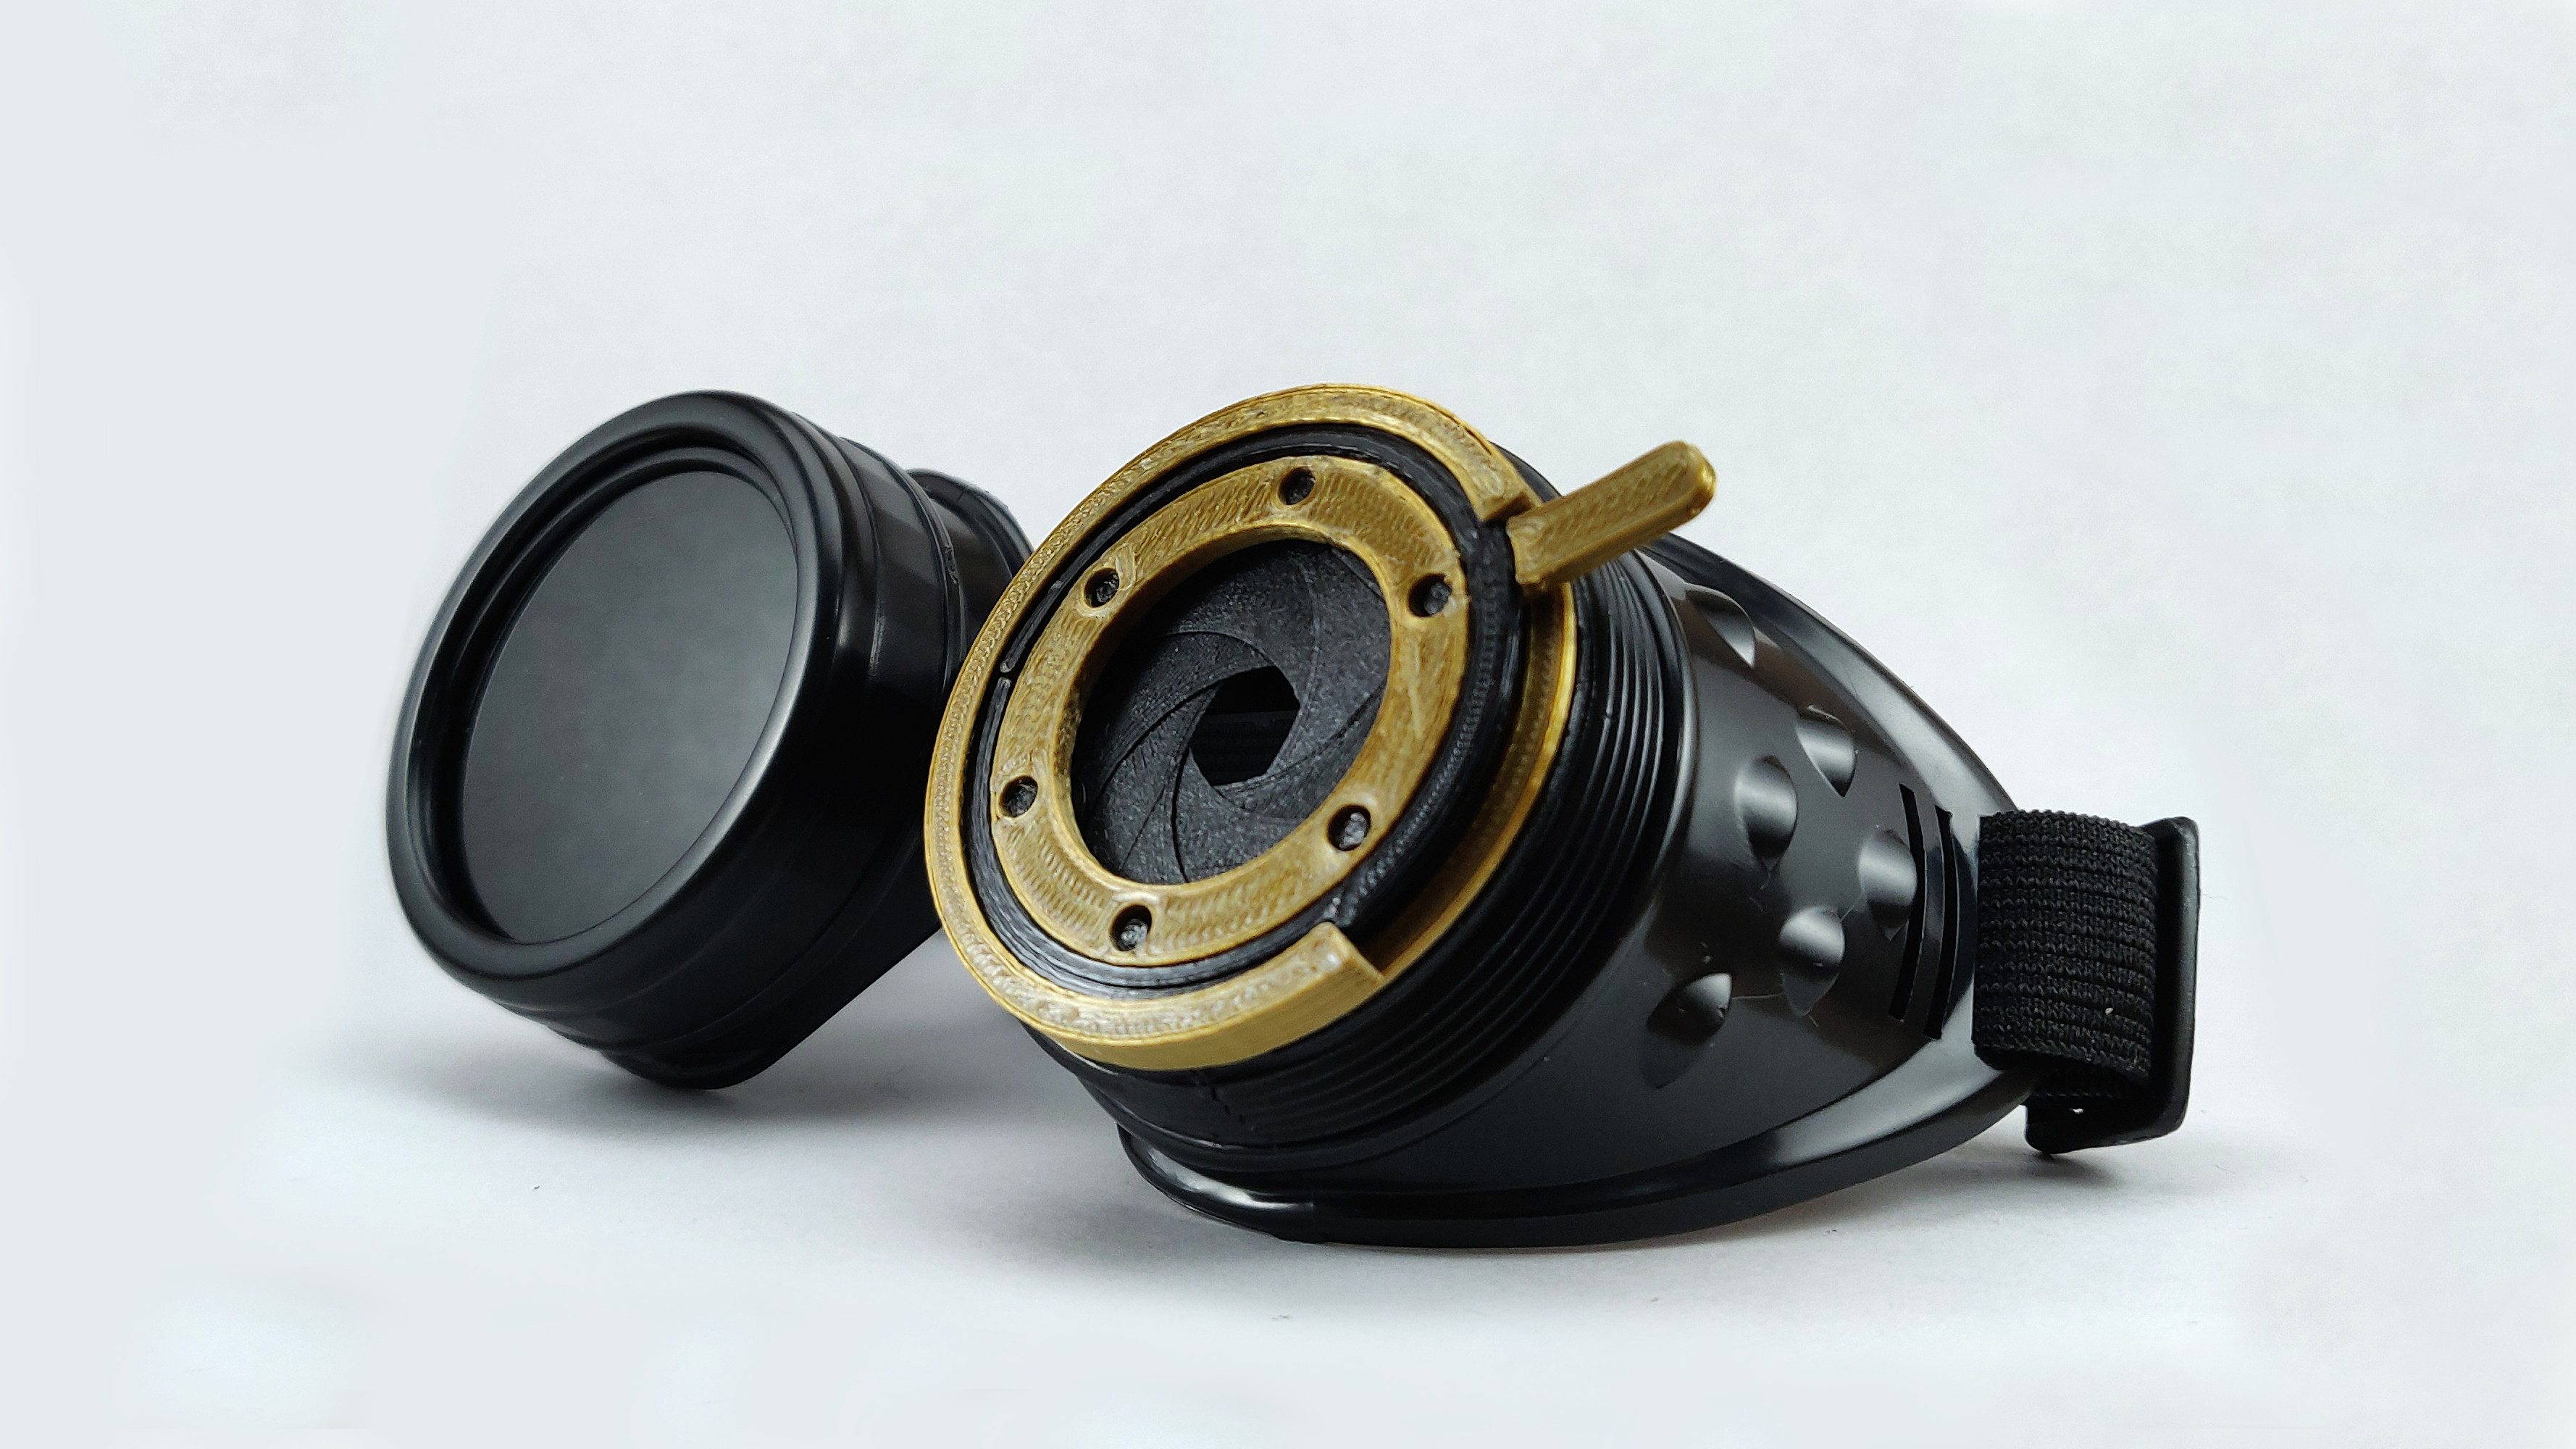
Or you can use the twist iris version, that replaces the lens cap entirely, whilst still allowing the lens to be used.
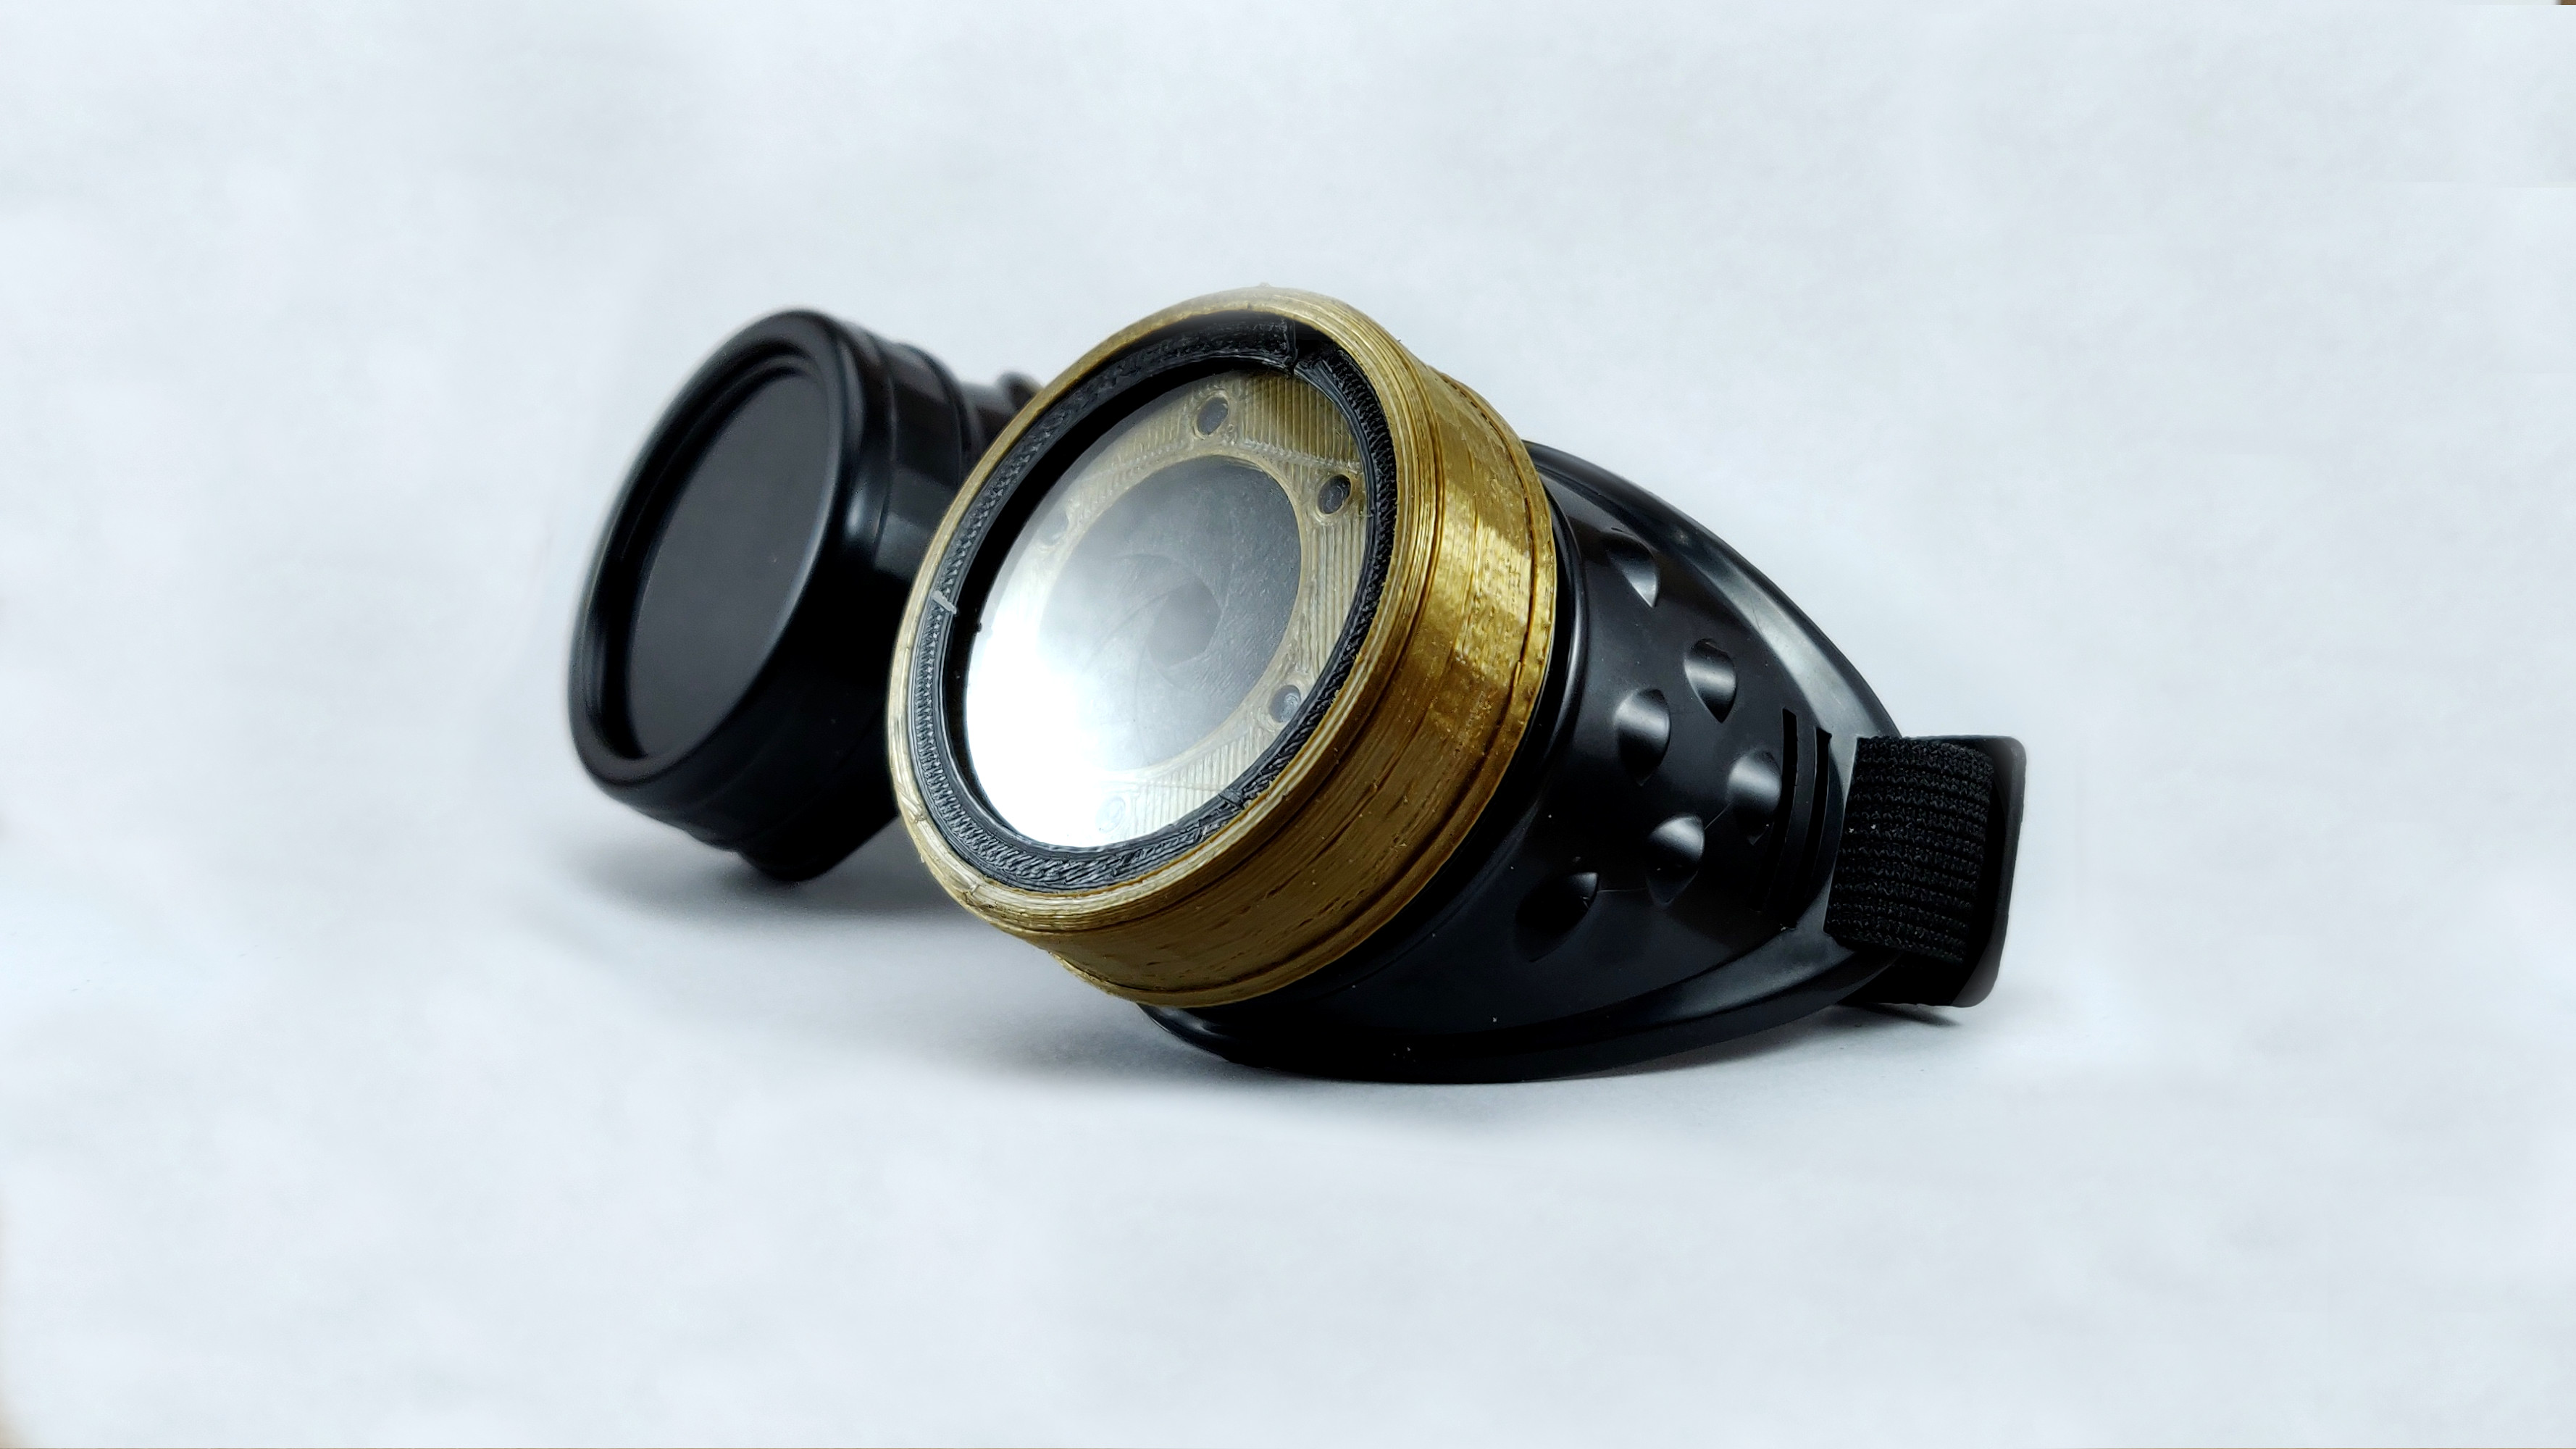
Both are available at our store: https://www.etsy.com/ca/shop/IrisCalculator
If you'd like to have a go at making your own iris design, please do sign up to our design software. You'll be able to customise the size and many other design parameters. And once you're done, you can export and print the templates as a guide.