Estimated time to complete: ~2 hours
Materials needed:
- Paper
- Card or heavy weight paper
- Drinking straw
- Xacto knife
- Cardboard
- Glue stick
- Glue gun (or just make do with the glue stick)
- Small cross-head screwdriver
- Large cross-head screwdriver
- Rubber bands
Specification:
- Aperture, 5-50 mm
- Outside diameter, 100 mm
- # of blades, 8
- Rotational movement, ~80 degrees
- Pin size, 6 mm
- Blade thickness, ~0.25 mm (0.01″)
Making the parts for the cardboard mechanical iris
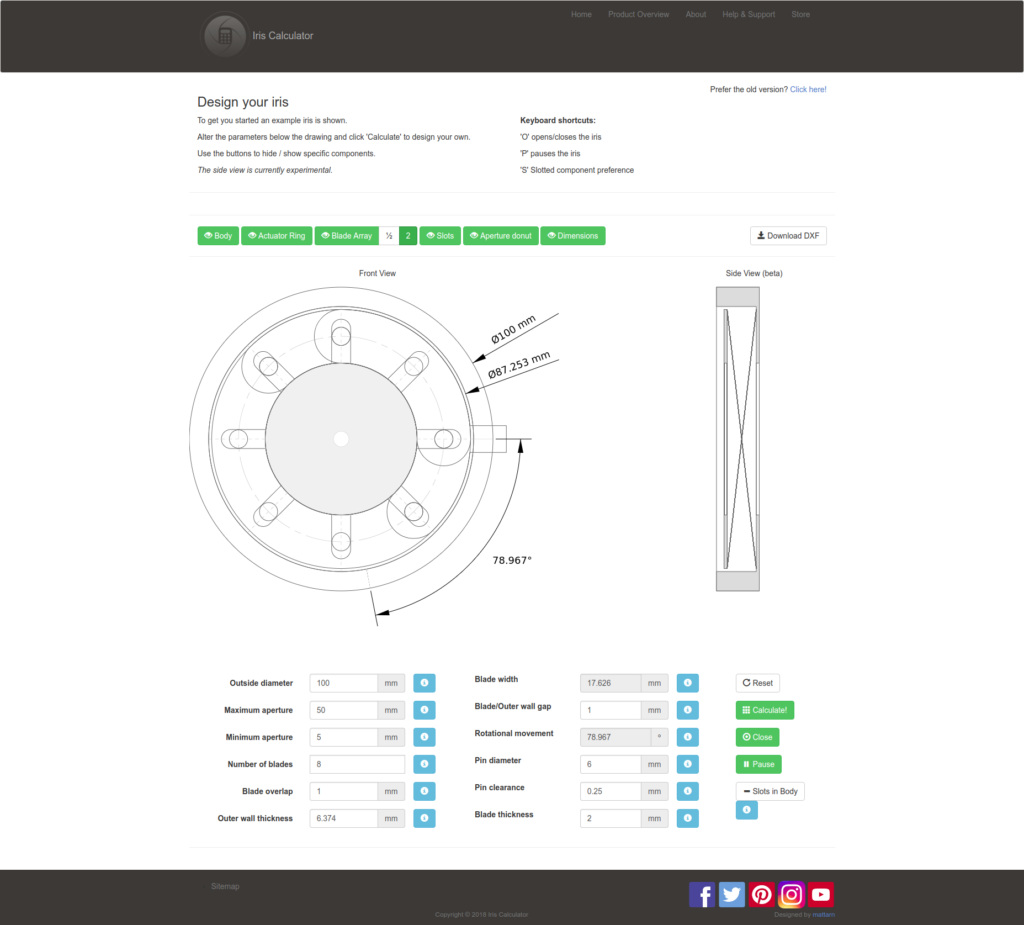
To create the iris design template I used iris-calculator.com, which generates the plans to help you. If you’d like to make the exact same one as in this guide, here are the PDF template files for you to download and print:
Actuator ring
Blade sub-assembly
1. Blades
Print the template directly onto the card, and cut around the profile of the blades.
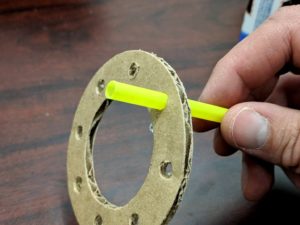
2. Pins
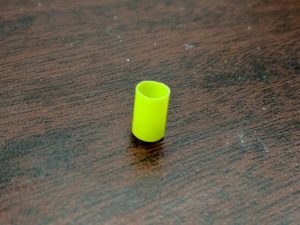
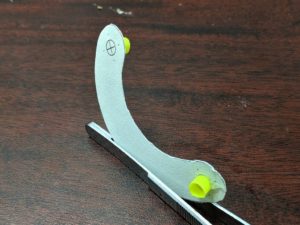
3. Assemble
Housing
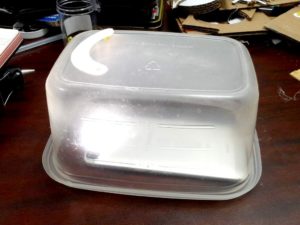
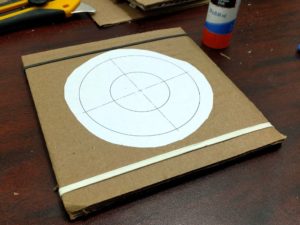
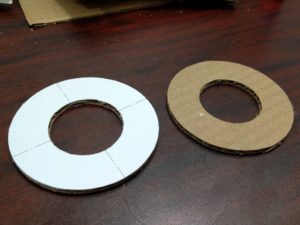
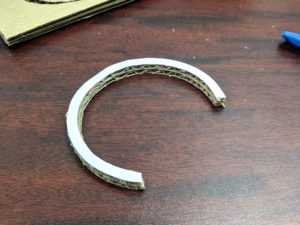
The housing for the cardboard mechanical iris is created using 4 parts (2 of which are identical). You may need to use a few layers of cardboard depending on how thick it is.
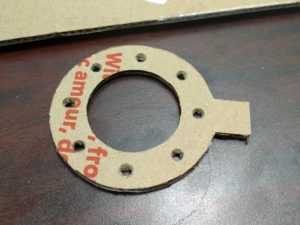
1. Base and Lid
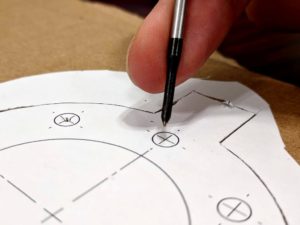
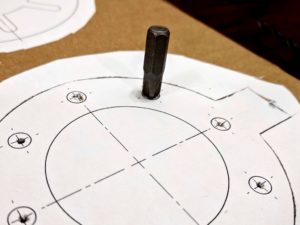
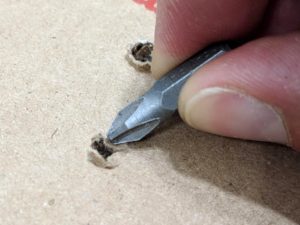
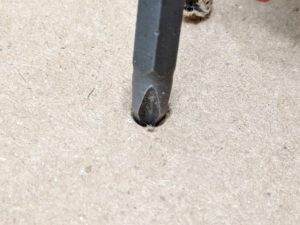
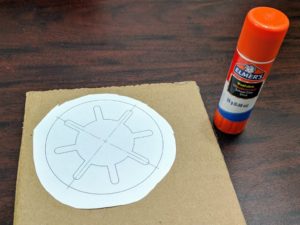
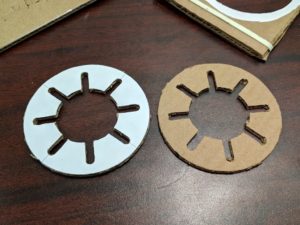
2. Slots
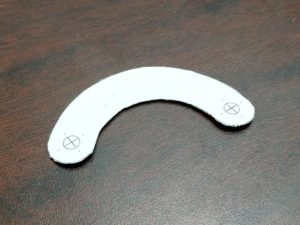
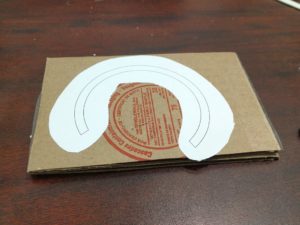
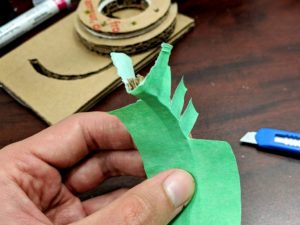
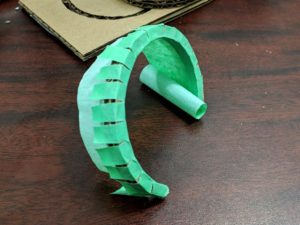
3. Wall
Final assembly
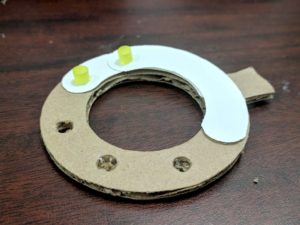
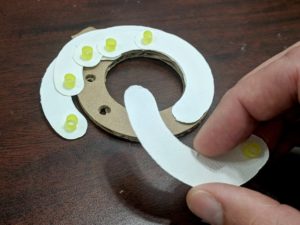
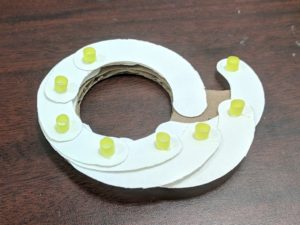
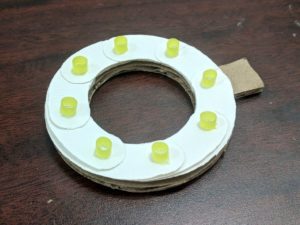
Insert the blades into the holes in the actuator ring. Carefully layer them all around so they stack neatly in the open position. The last few can be challenging – just fan them out a little to gain access to the holes.
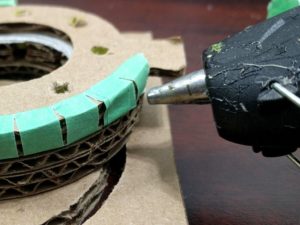
2. Start gluing the body together
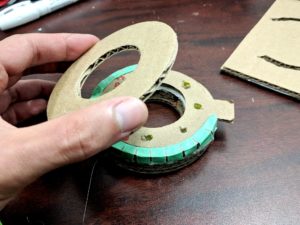
3. Mate the parts
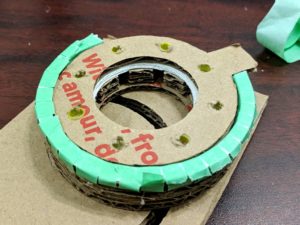
4. Glue the wall on
5. Check everything
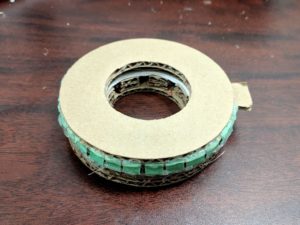
6. Finish
Be creative
With the aperture closed, draw a picture, then watch it explode and re-assemble when you open and close the iris!
Notes on the cardboard mechanical iris
Hard to open/close
For a smoother operation, use a pencil to coat over all the moving surfaces – particularly the slot edges and outer edge of the actuator ring.
Aperture is not round.
It’s unlikely with a cardboard iris that the aperture will be perfect. You can try replacing blades, and double checking the slots and holes have been made properly.
Won’t open / Won’t close
This could be 2 things: The handle slot is in the wrong place, or the blades have been made the wrong way round.
The iris dosen’t close completely
By design, this iris closes down to a minimum aperture of 5 mm. If you’d like the iris aperture to close completely, take a look at our other article on Dual-Plane irises.
Design your own iris
This cardboard iris was designed using the Iris Calculator. If you’d like to have a go at making your own iris design, please do sign up to our design software. You’ll be able to customise the size and many other design parameters. And once you’re done, you can export and print the templates as a guide.
[…] correct name for such a mechanism is Mechanical Iris. After some research we were able to find some blue prints with all of the anchor points and elements scaled […]