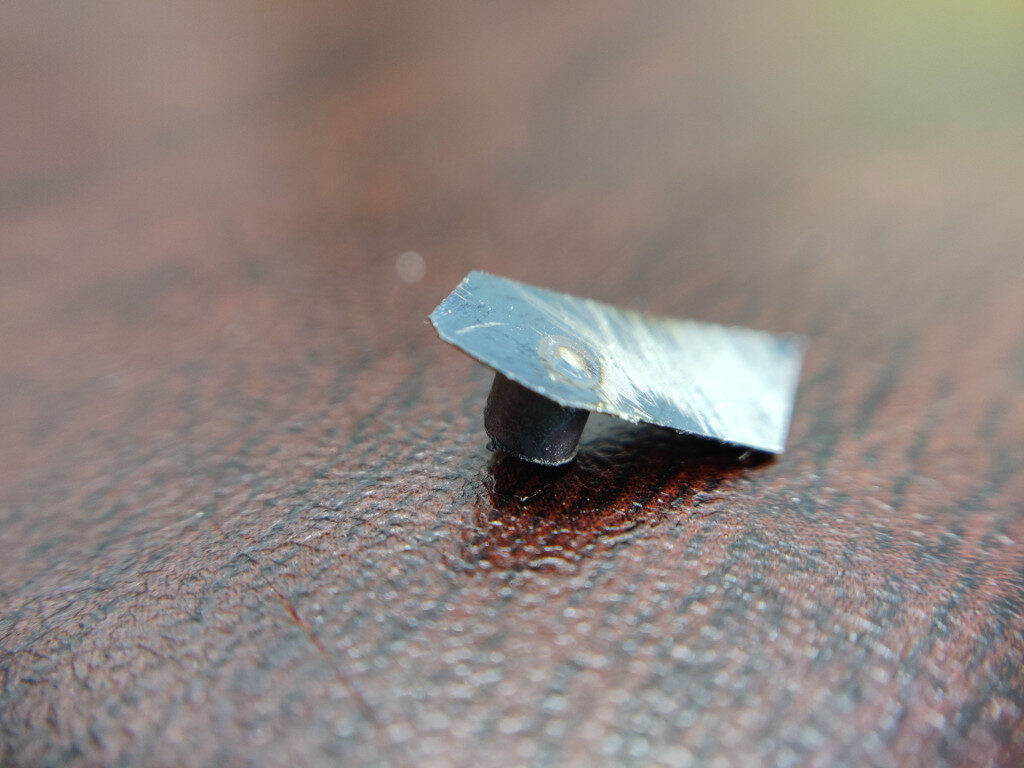
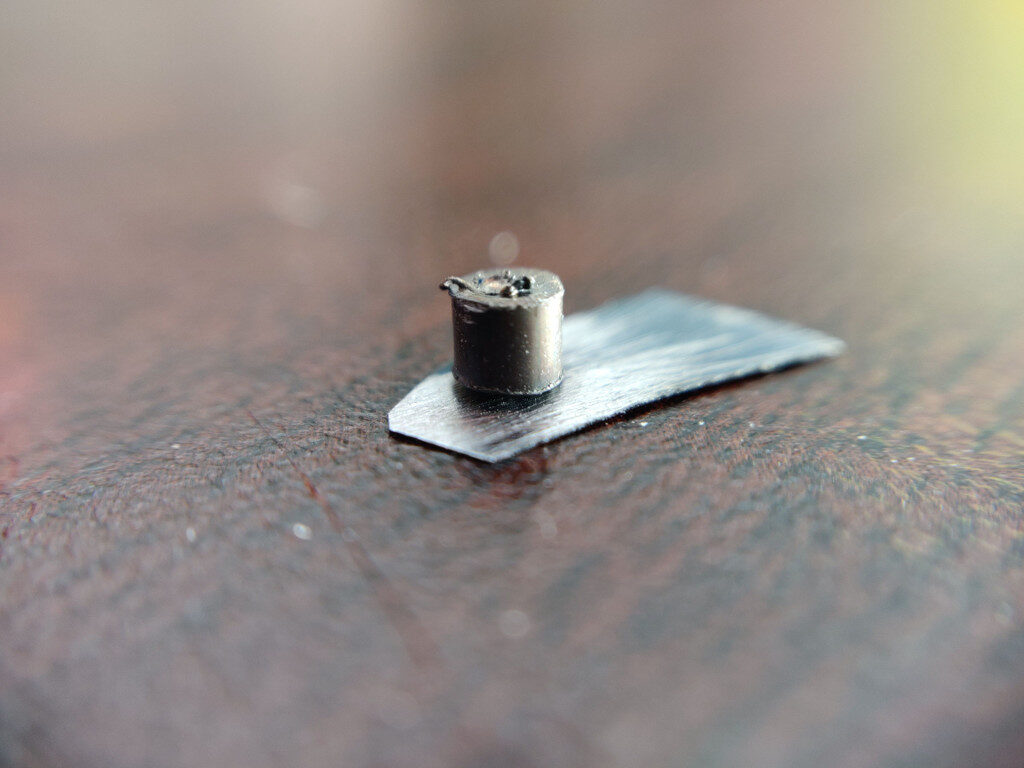
Projection welding is a form of spot-welding, whereby a protrusion of material from one metal part is melted into another, forming a solid bond. This is a particularly useful technique when you have mismatched material thicknesses – such as a solid pin being welded onto very thin leaf material.
To make this work for us, the pin needs a small tapered point on one end. This presents just enough material to weld to the leaf, but no too much to cause damage to the leaf itself.
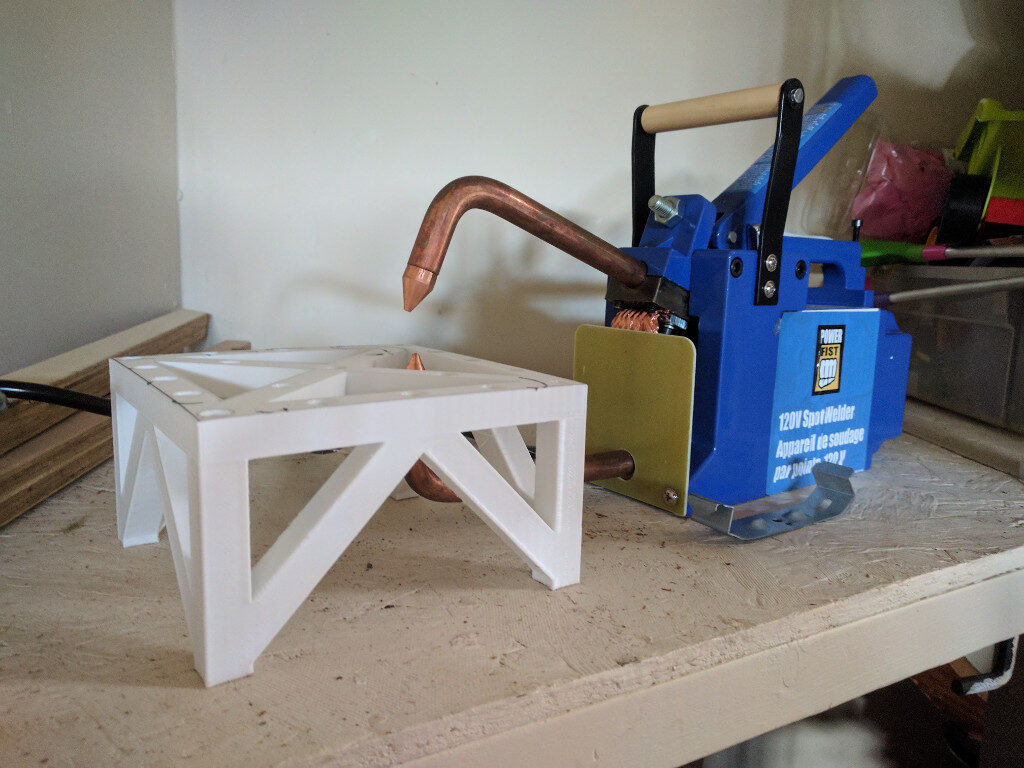
At this stage, my goal is to use a standard hand-held spot-welder (the sort you find at hardware or auto-parts stores). Ideally you’d need to have precise and consistent settings over voltage/amperage, weld time, and pressure. Unfortunately with this type of welder there is very little ability to control any of these variables for your spot-weld. The voltage and amperage is fixed, the on-off time is a spring-loaded switch operated by your finger, and the pressure is based on how hard you squeeze the handle to clamp your two parts between the two probes. However, early tests have shown that it could possible to achieve a reliable weld…
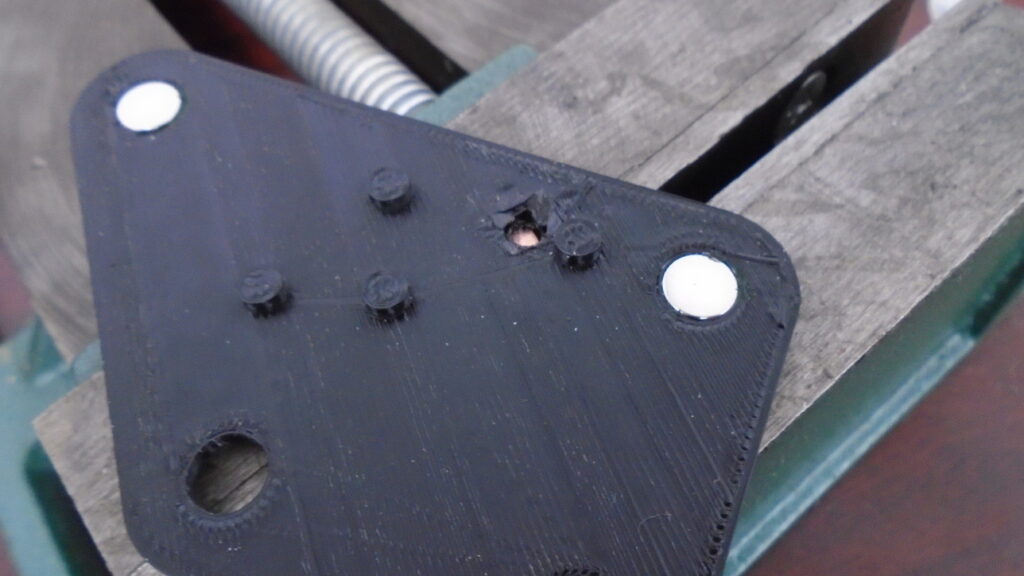
The initial setup is a spot-welder with custom table, allowing the leaves to be placed in a separate jig at the exact height of the probes. This jig can be 3D printed to whatever leaf size is needed and easily mounted/un-mounted magnetically. The pin hole has a piece of copper at it’s base, to make contact with the bottom probe. A pin is then inserted into the hole, and the leaf material laid on top. With a gentle squeeze, and the briefest of zap, welding takes place!
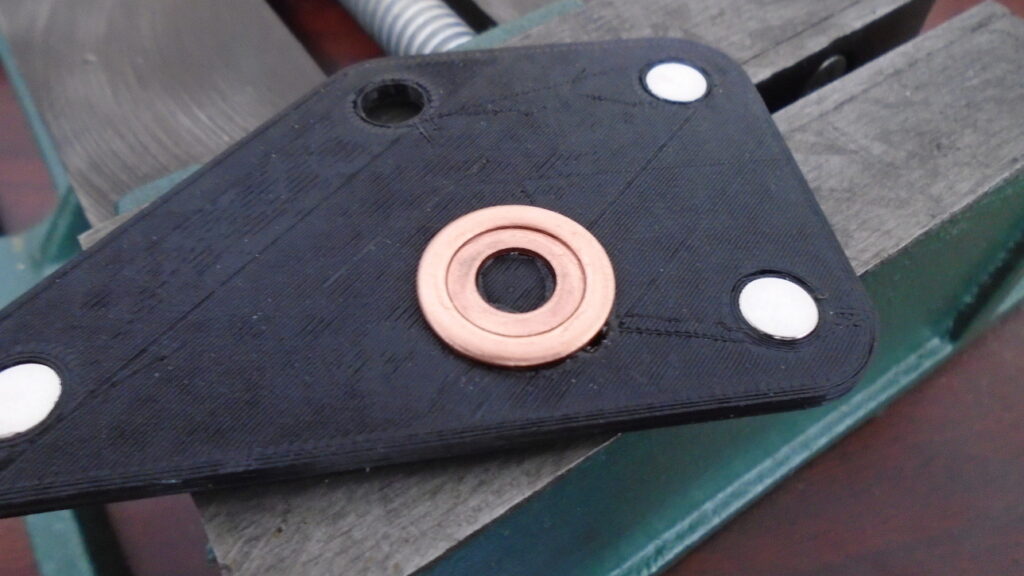
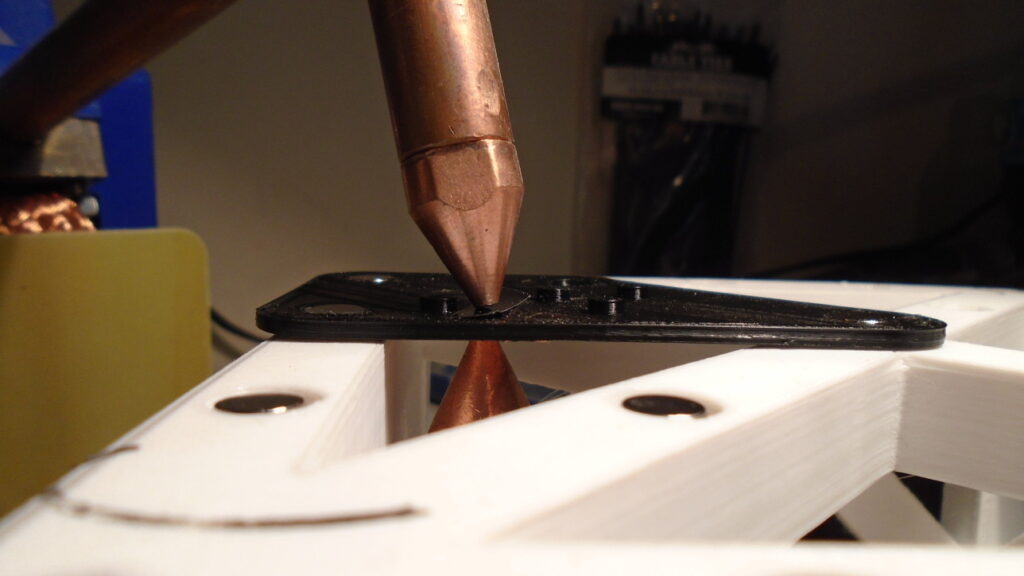 Overall I’m satisfied with how well the welds hold, but clearly this is still quite crude, resulting in issues such as…
1. The jig melts, elongating the pin hole and melting where the leaf rests (it is printed from PLA after all)
2. The clamping pressure is hard to judge. The pin needs to make good contact with the leaf, but not too much.
3. The switch is difficult to press as briefly and consistently as needed. Consequently it’s very easy to blow holes in the leaf, or create a weak weld.
So what are the next steps?…
1. Typically a Tufnol block would be milled and used as a jig – as this is both heat proof and a good electrical insulator. But I think I’d like to retain the convenience of being able to 3D print jigs. So to achieve the best of both worlds, a solution could be to enlarge the pin hole, fill with resin, and drill it to size. Then maybe use Kapton tape to protect the top and bottom surfaces from the heat conducted into the leaf.
2. Perhaps some sort of spring tensioner attached to the welder’s handle would allow control of clamping pressure?
3. I’m thinking a servo controlled by a Raspberry Pi (or similar) would be an advantage in accurately controlling the switch on/off time.
If you’d like to have a go at making your own iris design, please do sign up to our design software. You’ll be able to customise the size and many other design parameters. And once you’re done, you can export and print the templates as a guide.
