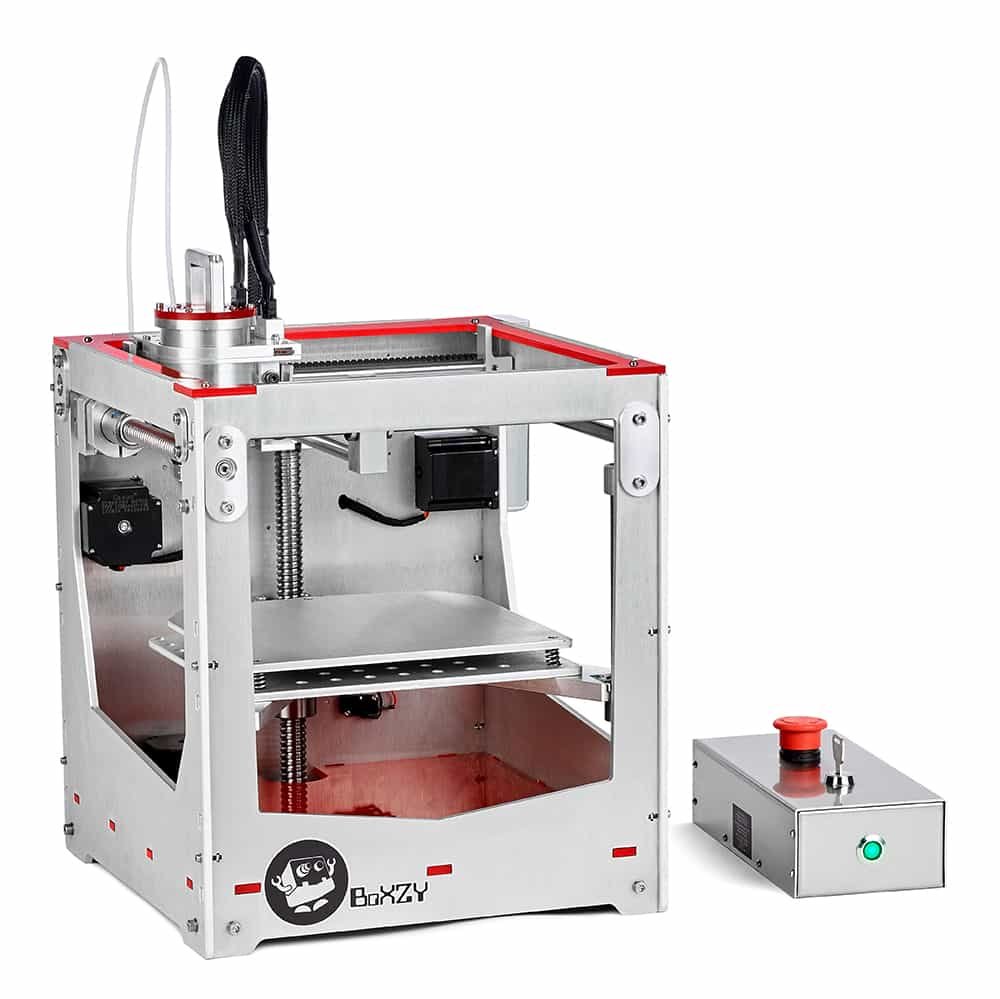
3D printers are incredible pieces of tech. With the lowering the costs of FDM (Fused Deposition Modelling) printers in recent years, it has enabled desktop fabrication to reach the masses - both in the small business environment, and in the home. The nature of additive manufacturing has also allowed incredibly creative designs to be built. What would otherwise be impossible to make using traditional manufacturing, is now almost too easy to make a reality. Sometimes, however, printing a seemingly simple object can also prove to be equally impossible. Including a way to 3d print leaves for an iris diaphragm...
The challenges of 3D printing opposing pins on an FDM printer
If you’re reading this article, you’ll no doubt know that FDM 3D printers are the type that print one layer at a time - first printing a base layer, and then building from there on up. Because they need a solid base layer, to support the rest of the model, orientation is important to minimize the need for support structures.
The leaves in an iris, that use the 'banana-style', are designed to have opposing pins at each end. But because FDM printers can't print overhang without support material, this makes it a little awkward to 3D print. Ideally you’d want to print the leaves flat, thin, and with a smooth surface quality. The trouble is, there is no flat side on these leaves because of the pins sticking out.
4 ways to 3D print leaves
Solution 1: Print with a lattice support structure.
Pros:
- Print the leaf all at once
- High accuracy
Cons:
- Time consuming and wasted material
- Poor surface finish on one side
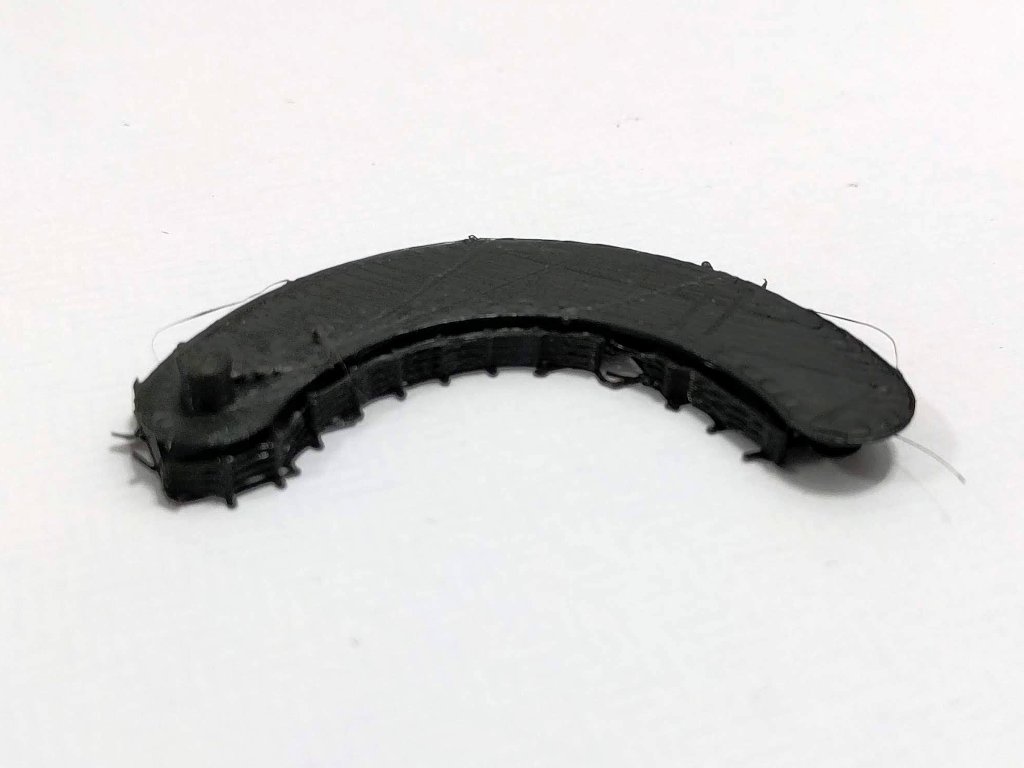
Top
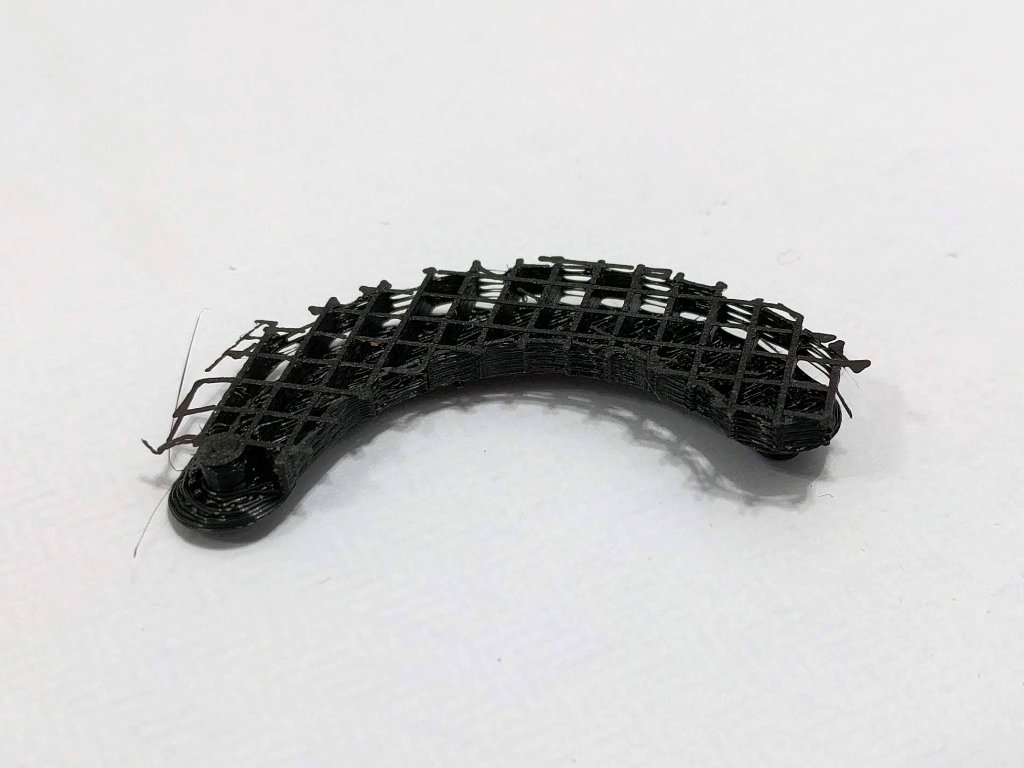
Bottom
Solution 2: Mate together 2 identical leaves - each with a pin one end, and a clearance hole the other.
Pros:
- Can print flat
- Accurate
- No support structure needed
Cons:
- 2 prints are needed to produce 1 leaf
- Leaf is twice as thick as it perhaps needs to be
Credit: @MakerBlock - http://makerblock.com
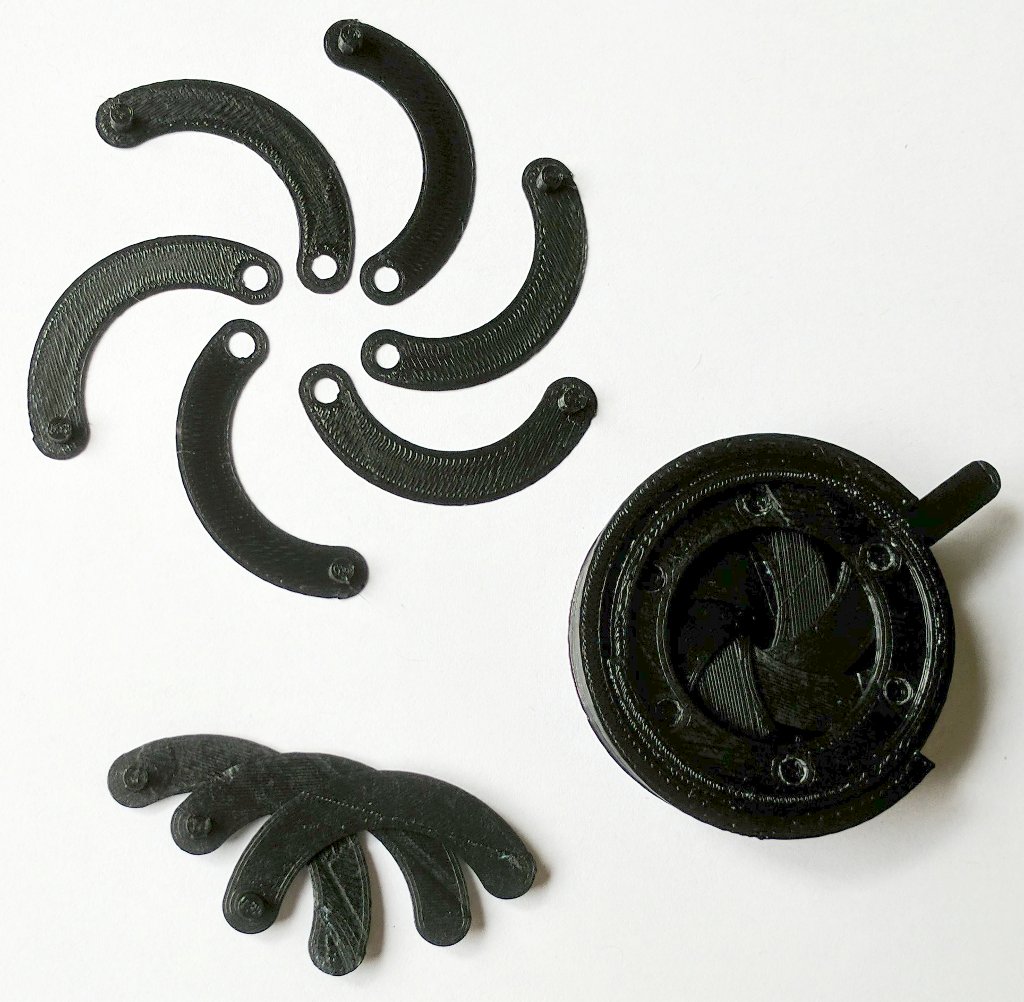
(Image credit: makerblock.com)
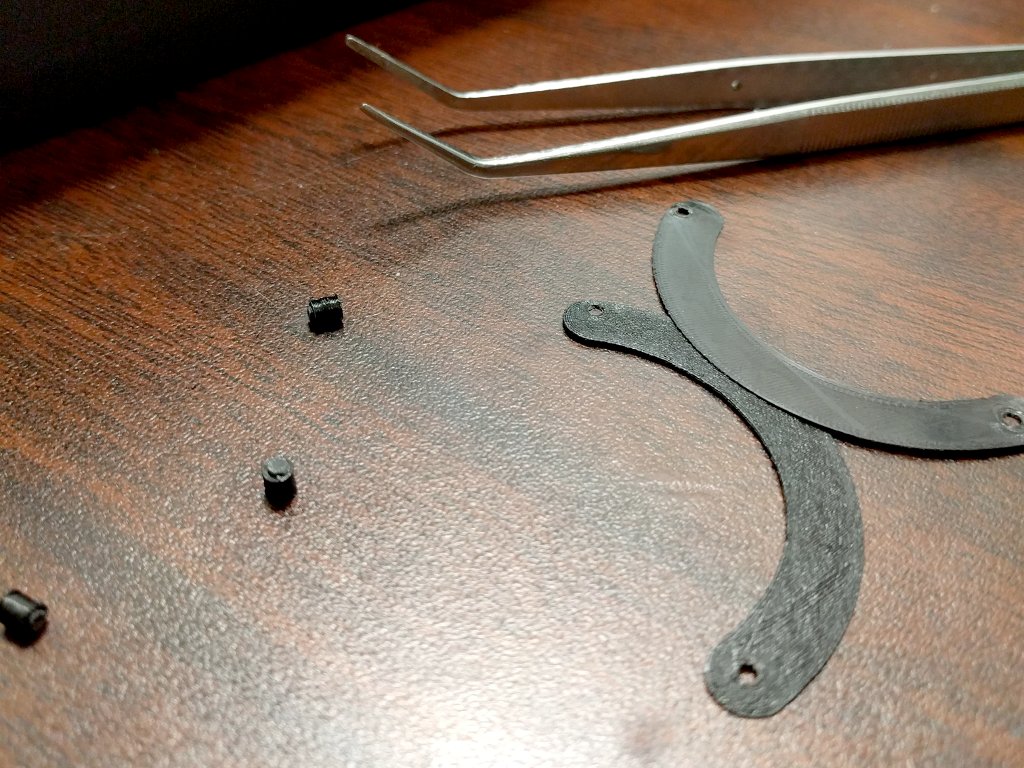
Solution 3: Print leaf with one pin and one location hole. Then print an individual pin to glue in place.
Pros:
- Can print flat
- Accurate
Cons:
- Separate pins need printing
- Requires a secondary process to glue the pins on
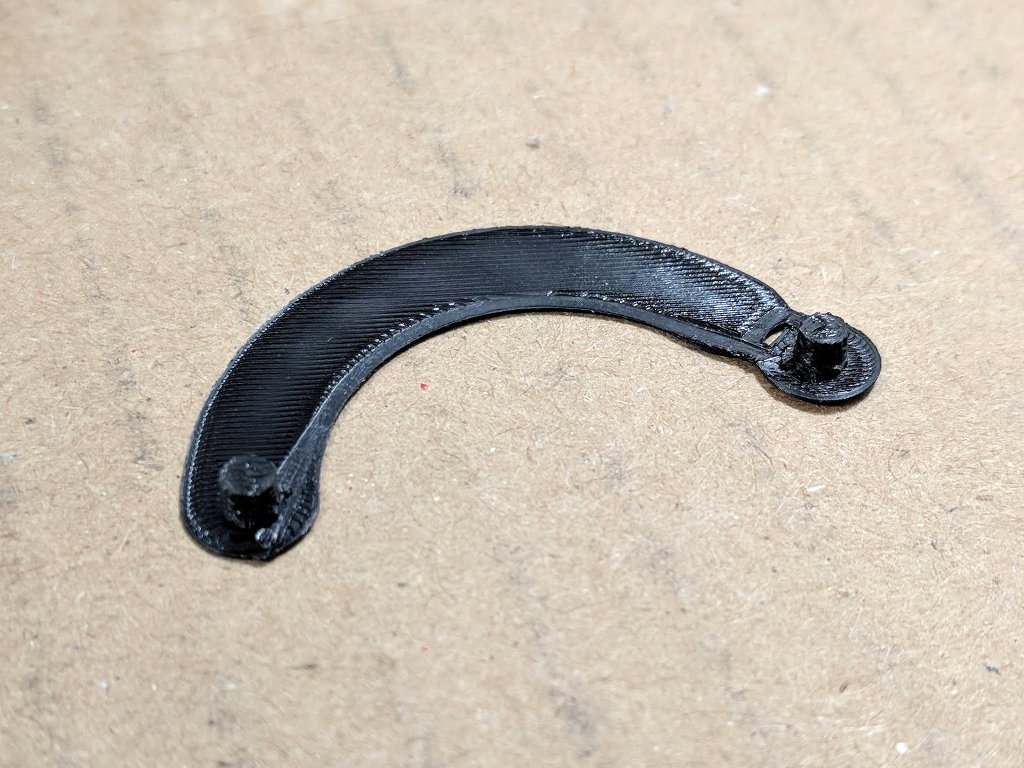
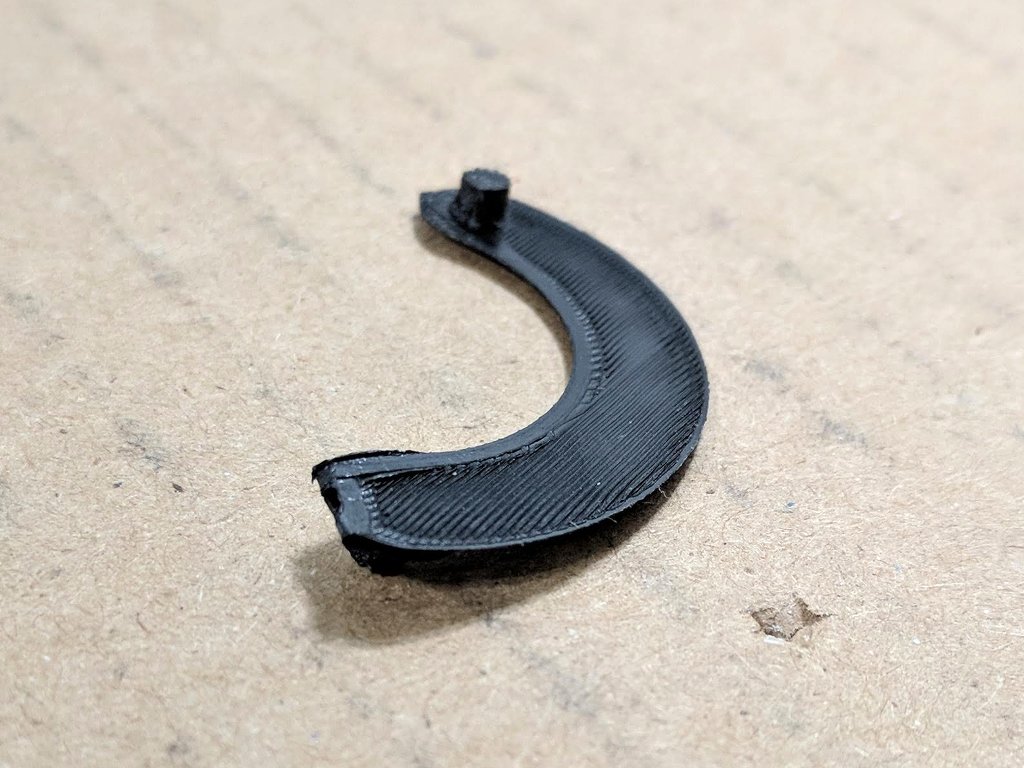
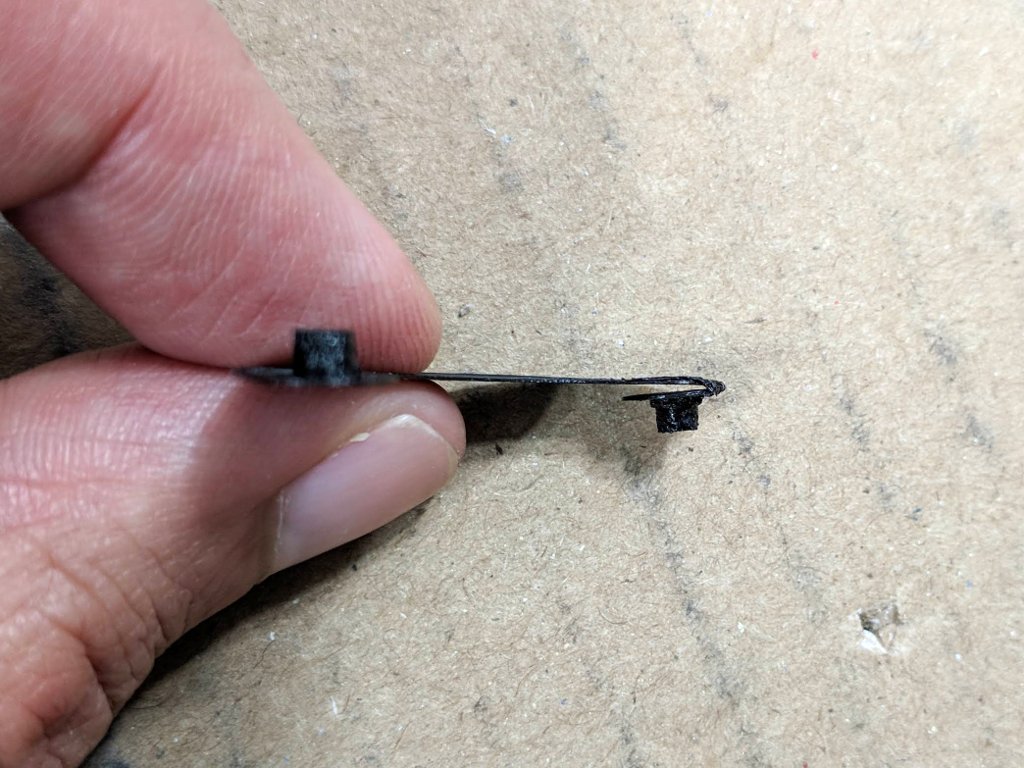
Solution 4: Print both pins on one side, then fold one of the ends back on itself.
Pros:
- Can print flat
- No additional process - other than folding
- Quickest print process out of the 4 solutions
Cons:
- Doubles the leaf thickness at one end
- Slight errors induced by folding, that could affect the aperture quality
- Leaf needs designing with the fold in mind
- Folding can sometimes cause the end to snap off
* TIP: Add a dab of Super Glue to hold the folded end down. This also prevents it shearing off when in the iris.
If you'd like to have a go at making your own iris design, please do sign up to our design software. You'll be able to customise the size and many other design parameters. And once you're done, you can export and print the templates as a guide.
