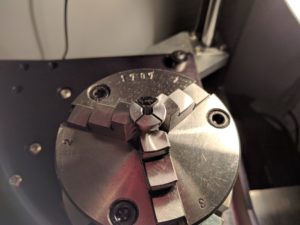
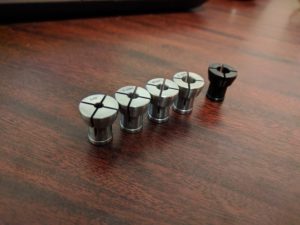
I recently received some great Makita collets from Elaire Corporation in the mail. The only thing missing I felt, was a quick way of identifying their size. So I installed the laser tool in the BoXZY, and with the new 3-jaw chuck installed on the milling plate, went about laser etching size ID’s on them all.
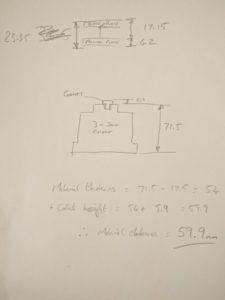
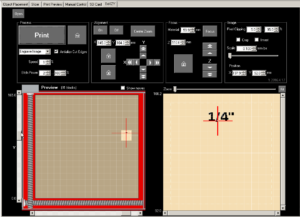
I had to calculate the material height to include the chuck on the milling plate – as usually lasering is done with the build-plate installed. Here are my rough notes for reference:
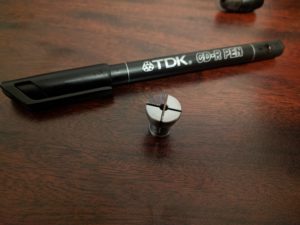
BoXZY’s laser is not powerful enough to etch unfinished metal – it needs a dark finish to prevent the laser being reflected away – so I needed to coat the collet with something. First I reached for a dry-erase marker to colour over the area I wanted to etch, but although it lasered well, afterwards it wiped off immediately (in hindsight I really should of expected that to happen!). So instead I used a CD marker pen, which worked out perfectly.
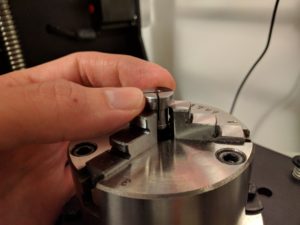
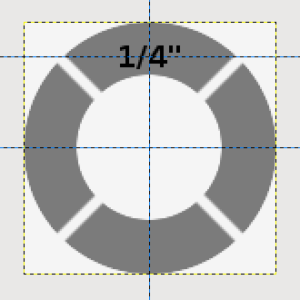
I lined each one up in the chuck and loaded in my images with the appropriate size ID’s on them.
3 passes at 1% speed and 100% power got the result I was looking for…
Here’s the image file template used if you’re interested:
Edit (24 July 2020):
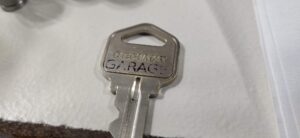
On revisiting this technique recently, it does seem that the metal needs to be tarnished. If polished, the marker doesn’t stick at all. So with a key – for example – you need to heavily dull the intended area with some 600 wet/dry sand paper.
It also seems to matter what type of marker pen is used – the TDK CD-R pen works well, but a Sharpie Magnum marker rubs off almost immediately. There is noticeably a difference in the ink between the two when applying them to the metal surface. So I’d imagine there’s probably an even better ink or paint that could be used instead to improve the long-term reliability of the etch.
